RC Racing Website - Upgrades
XMODS Main Board Upgrade
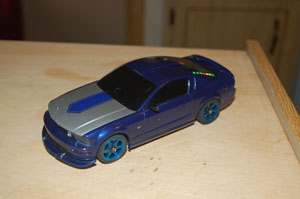
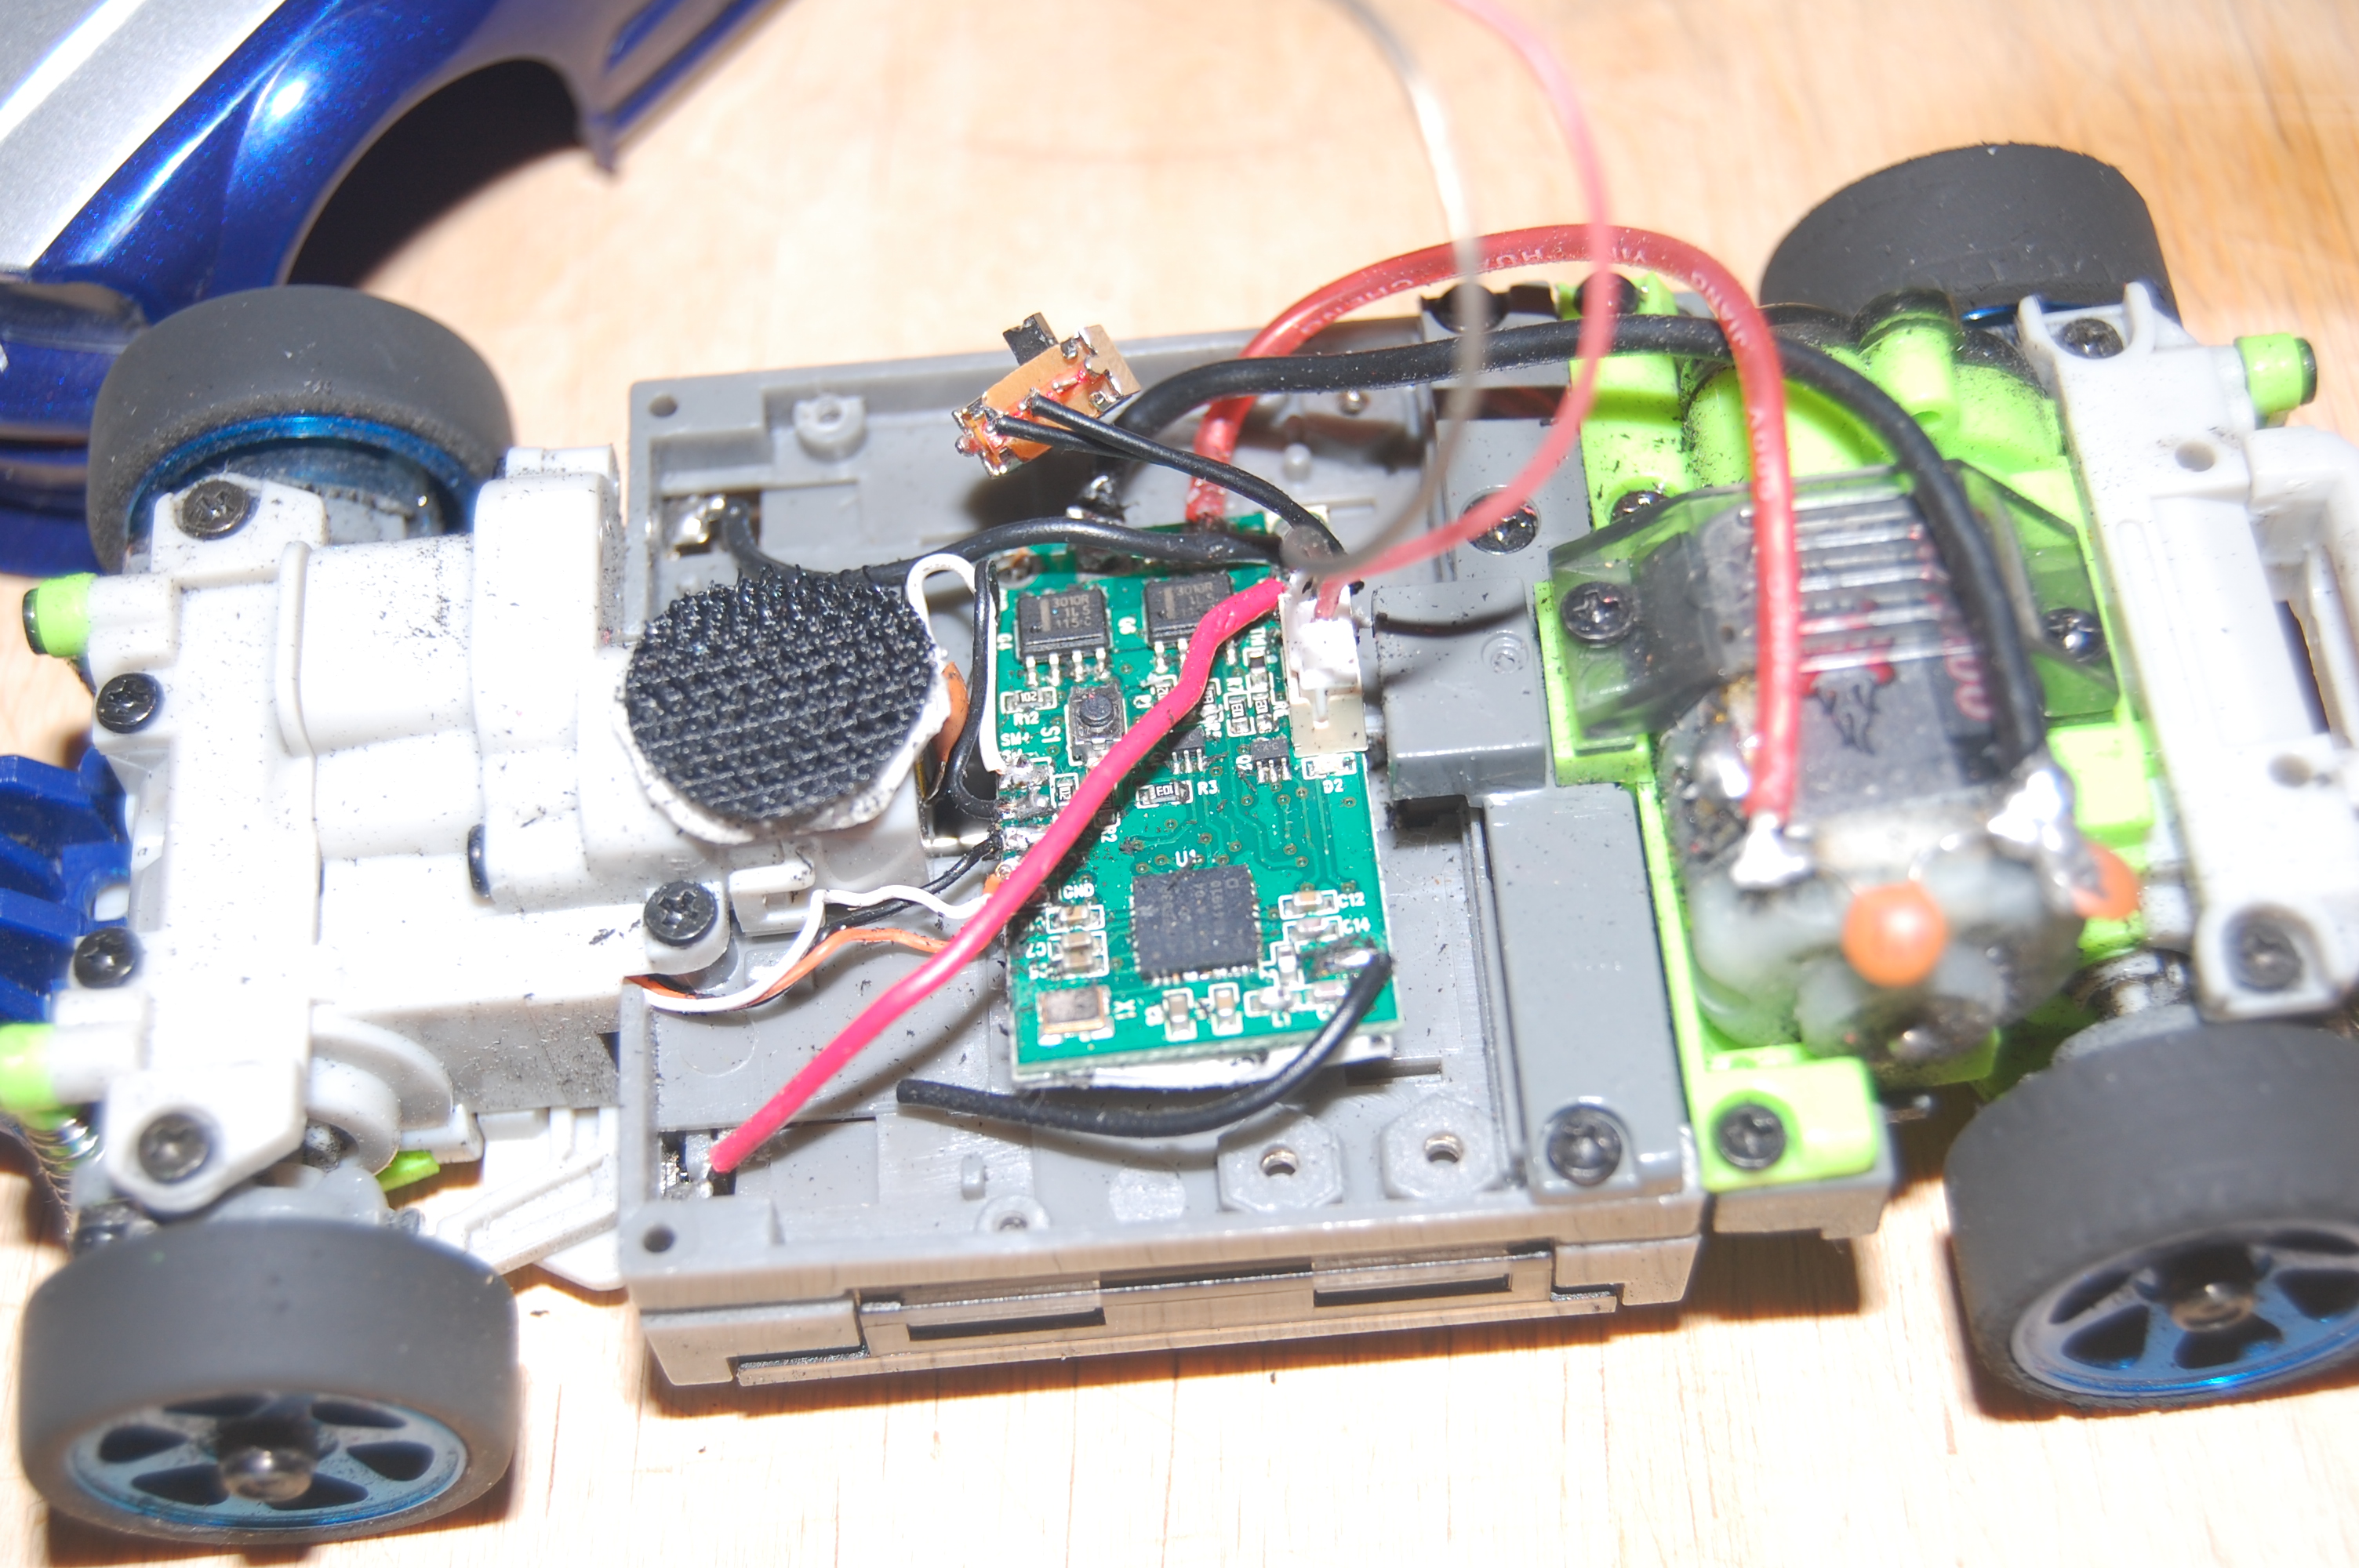
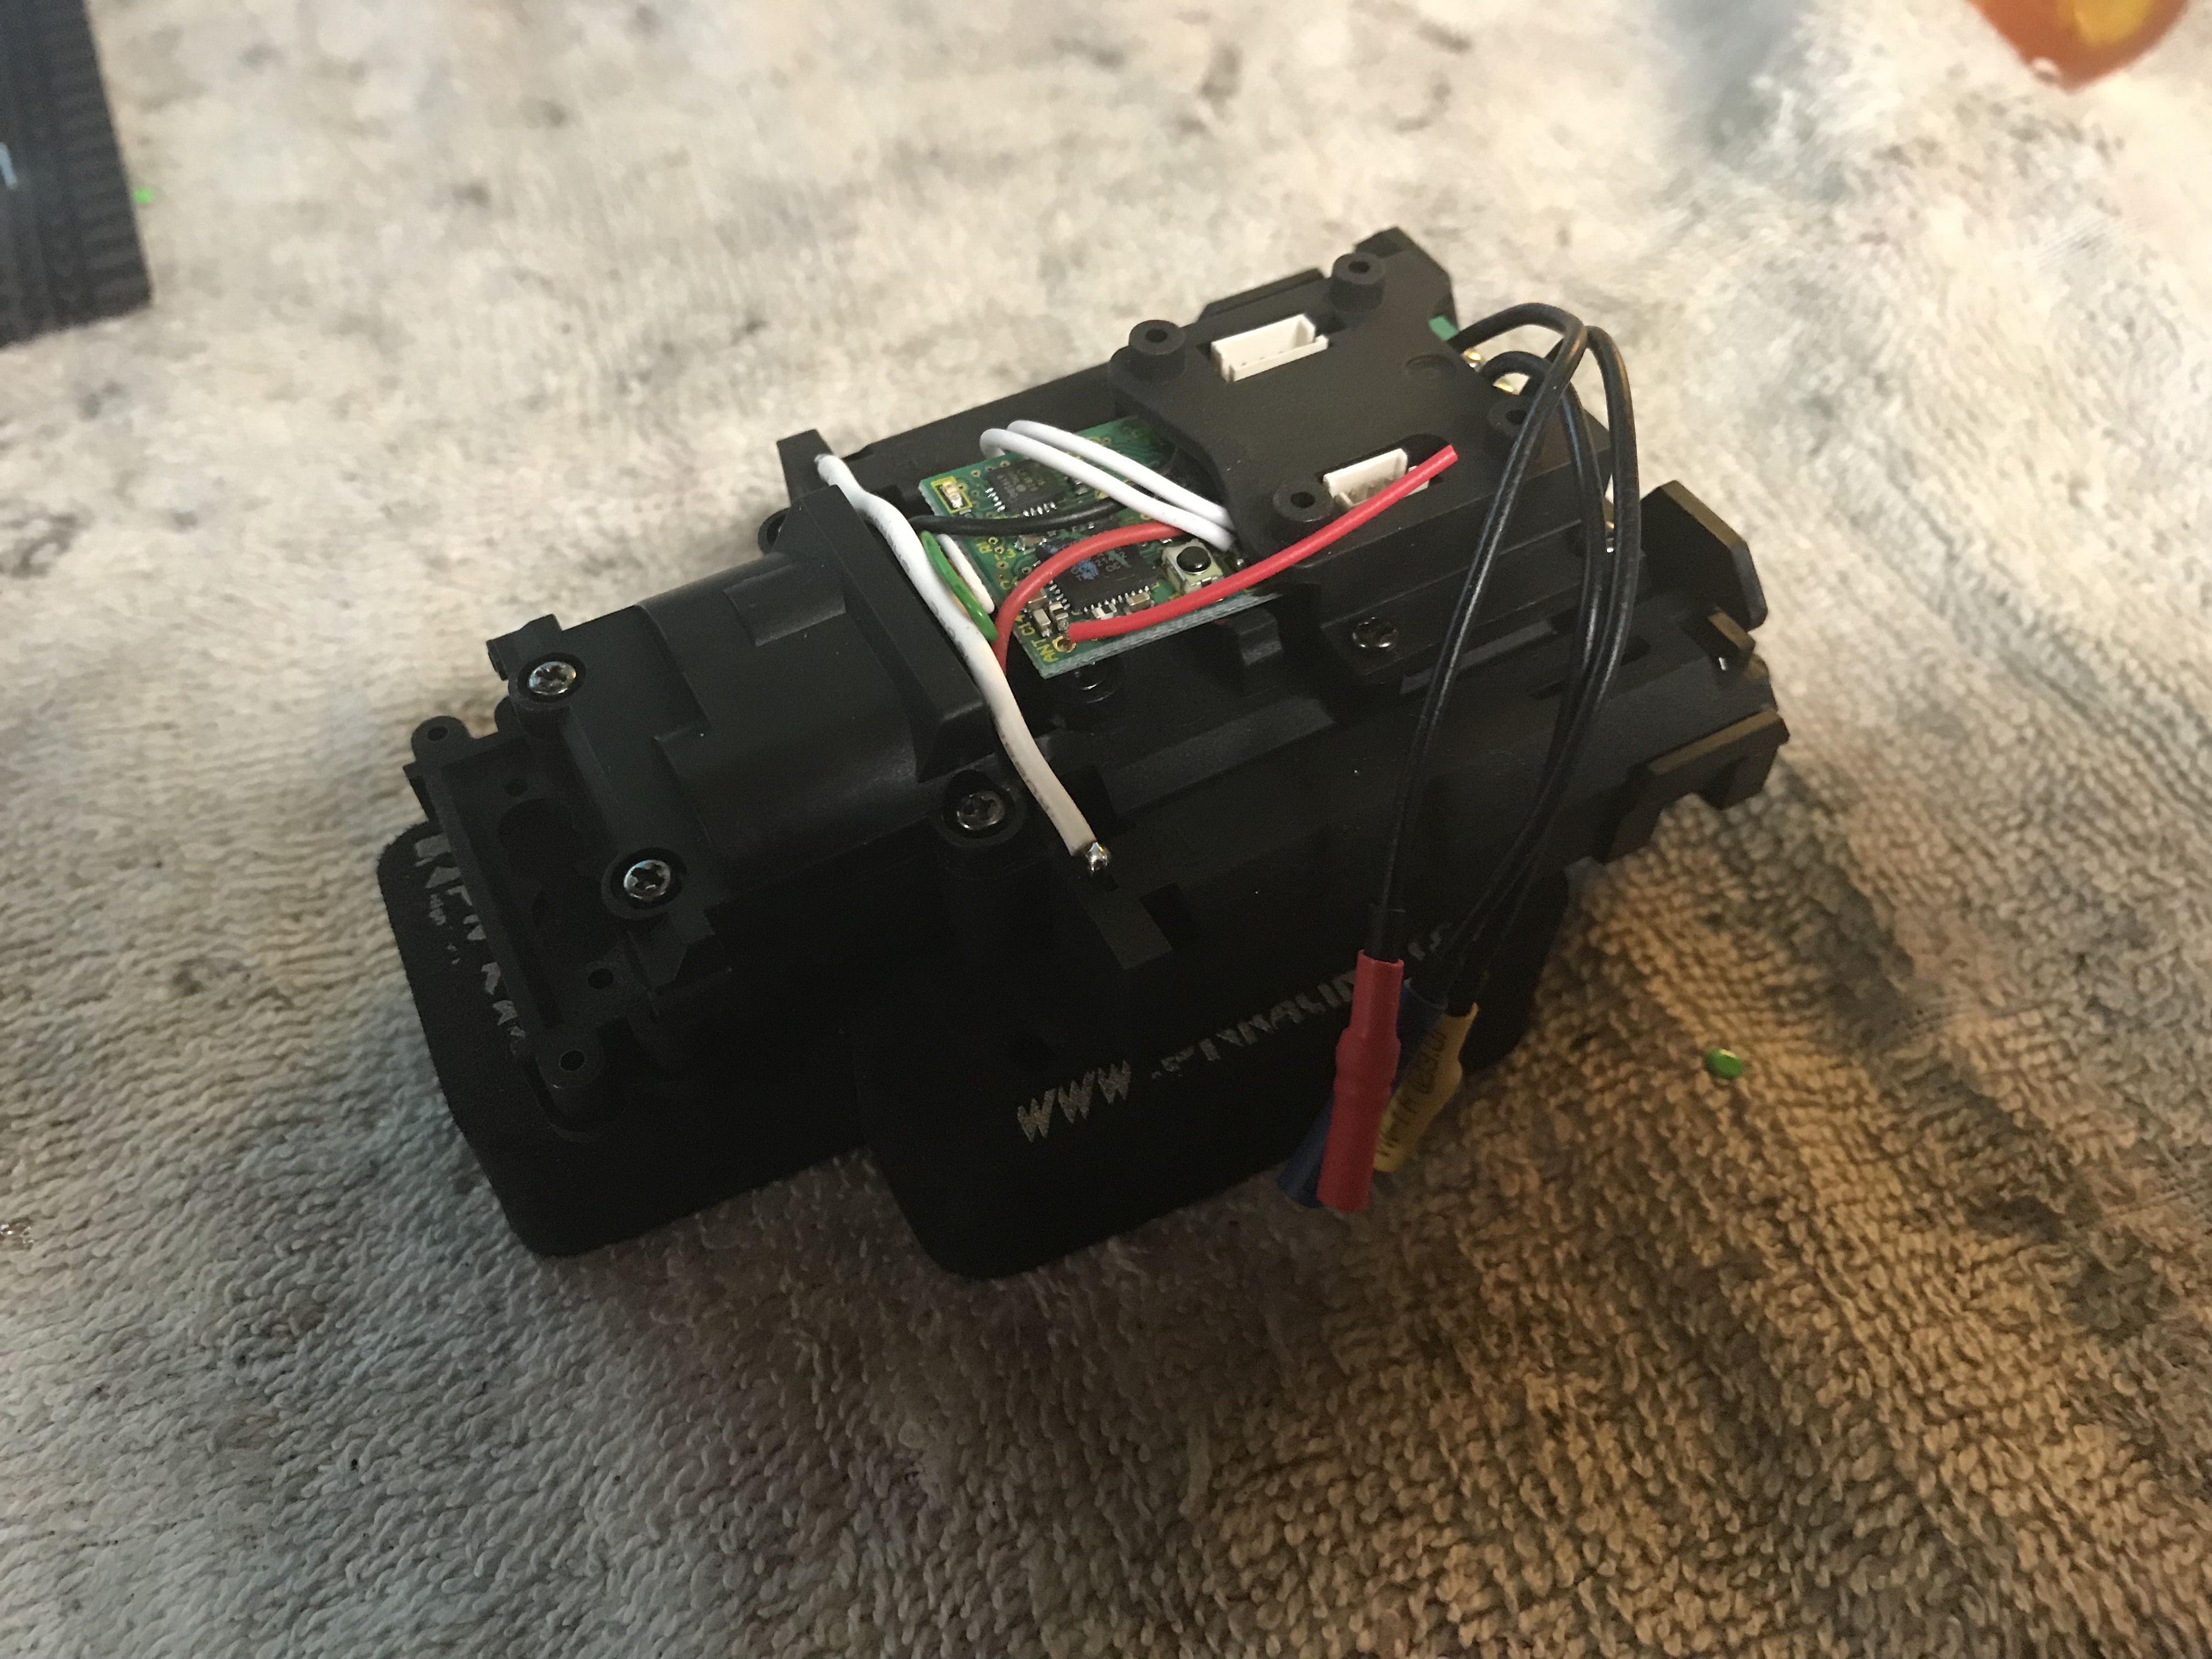
My first major upgrade project was to put an MR02 2.4GHz main board into an XMODS Mustang. It required removing all of the soldier joints from the old board and re-using the old servo for the new board. I used a Radio Shack XMODS Evo version with the Mustany body installed (see Figure 1). You are then able to pair with the digital radio of your choice. I choose the Kyosho EX-5UR radio, as it is my favorite. The radio allows me to pair up to 7 cars at the same time, and still have custom settings for each. The board needed to be fixed to the chassis using double-sided tape. Please see Figure 2 for a wide angle. Figure 3 is a closer view of how the board is installed.
I found that the performance of the car in regards to speed did not change, but the ability to maneuver the car has increased ten-fold. It is by far a lot easier to control than with the original radio, plus there are no issues with interference.
 |
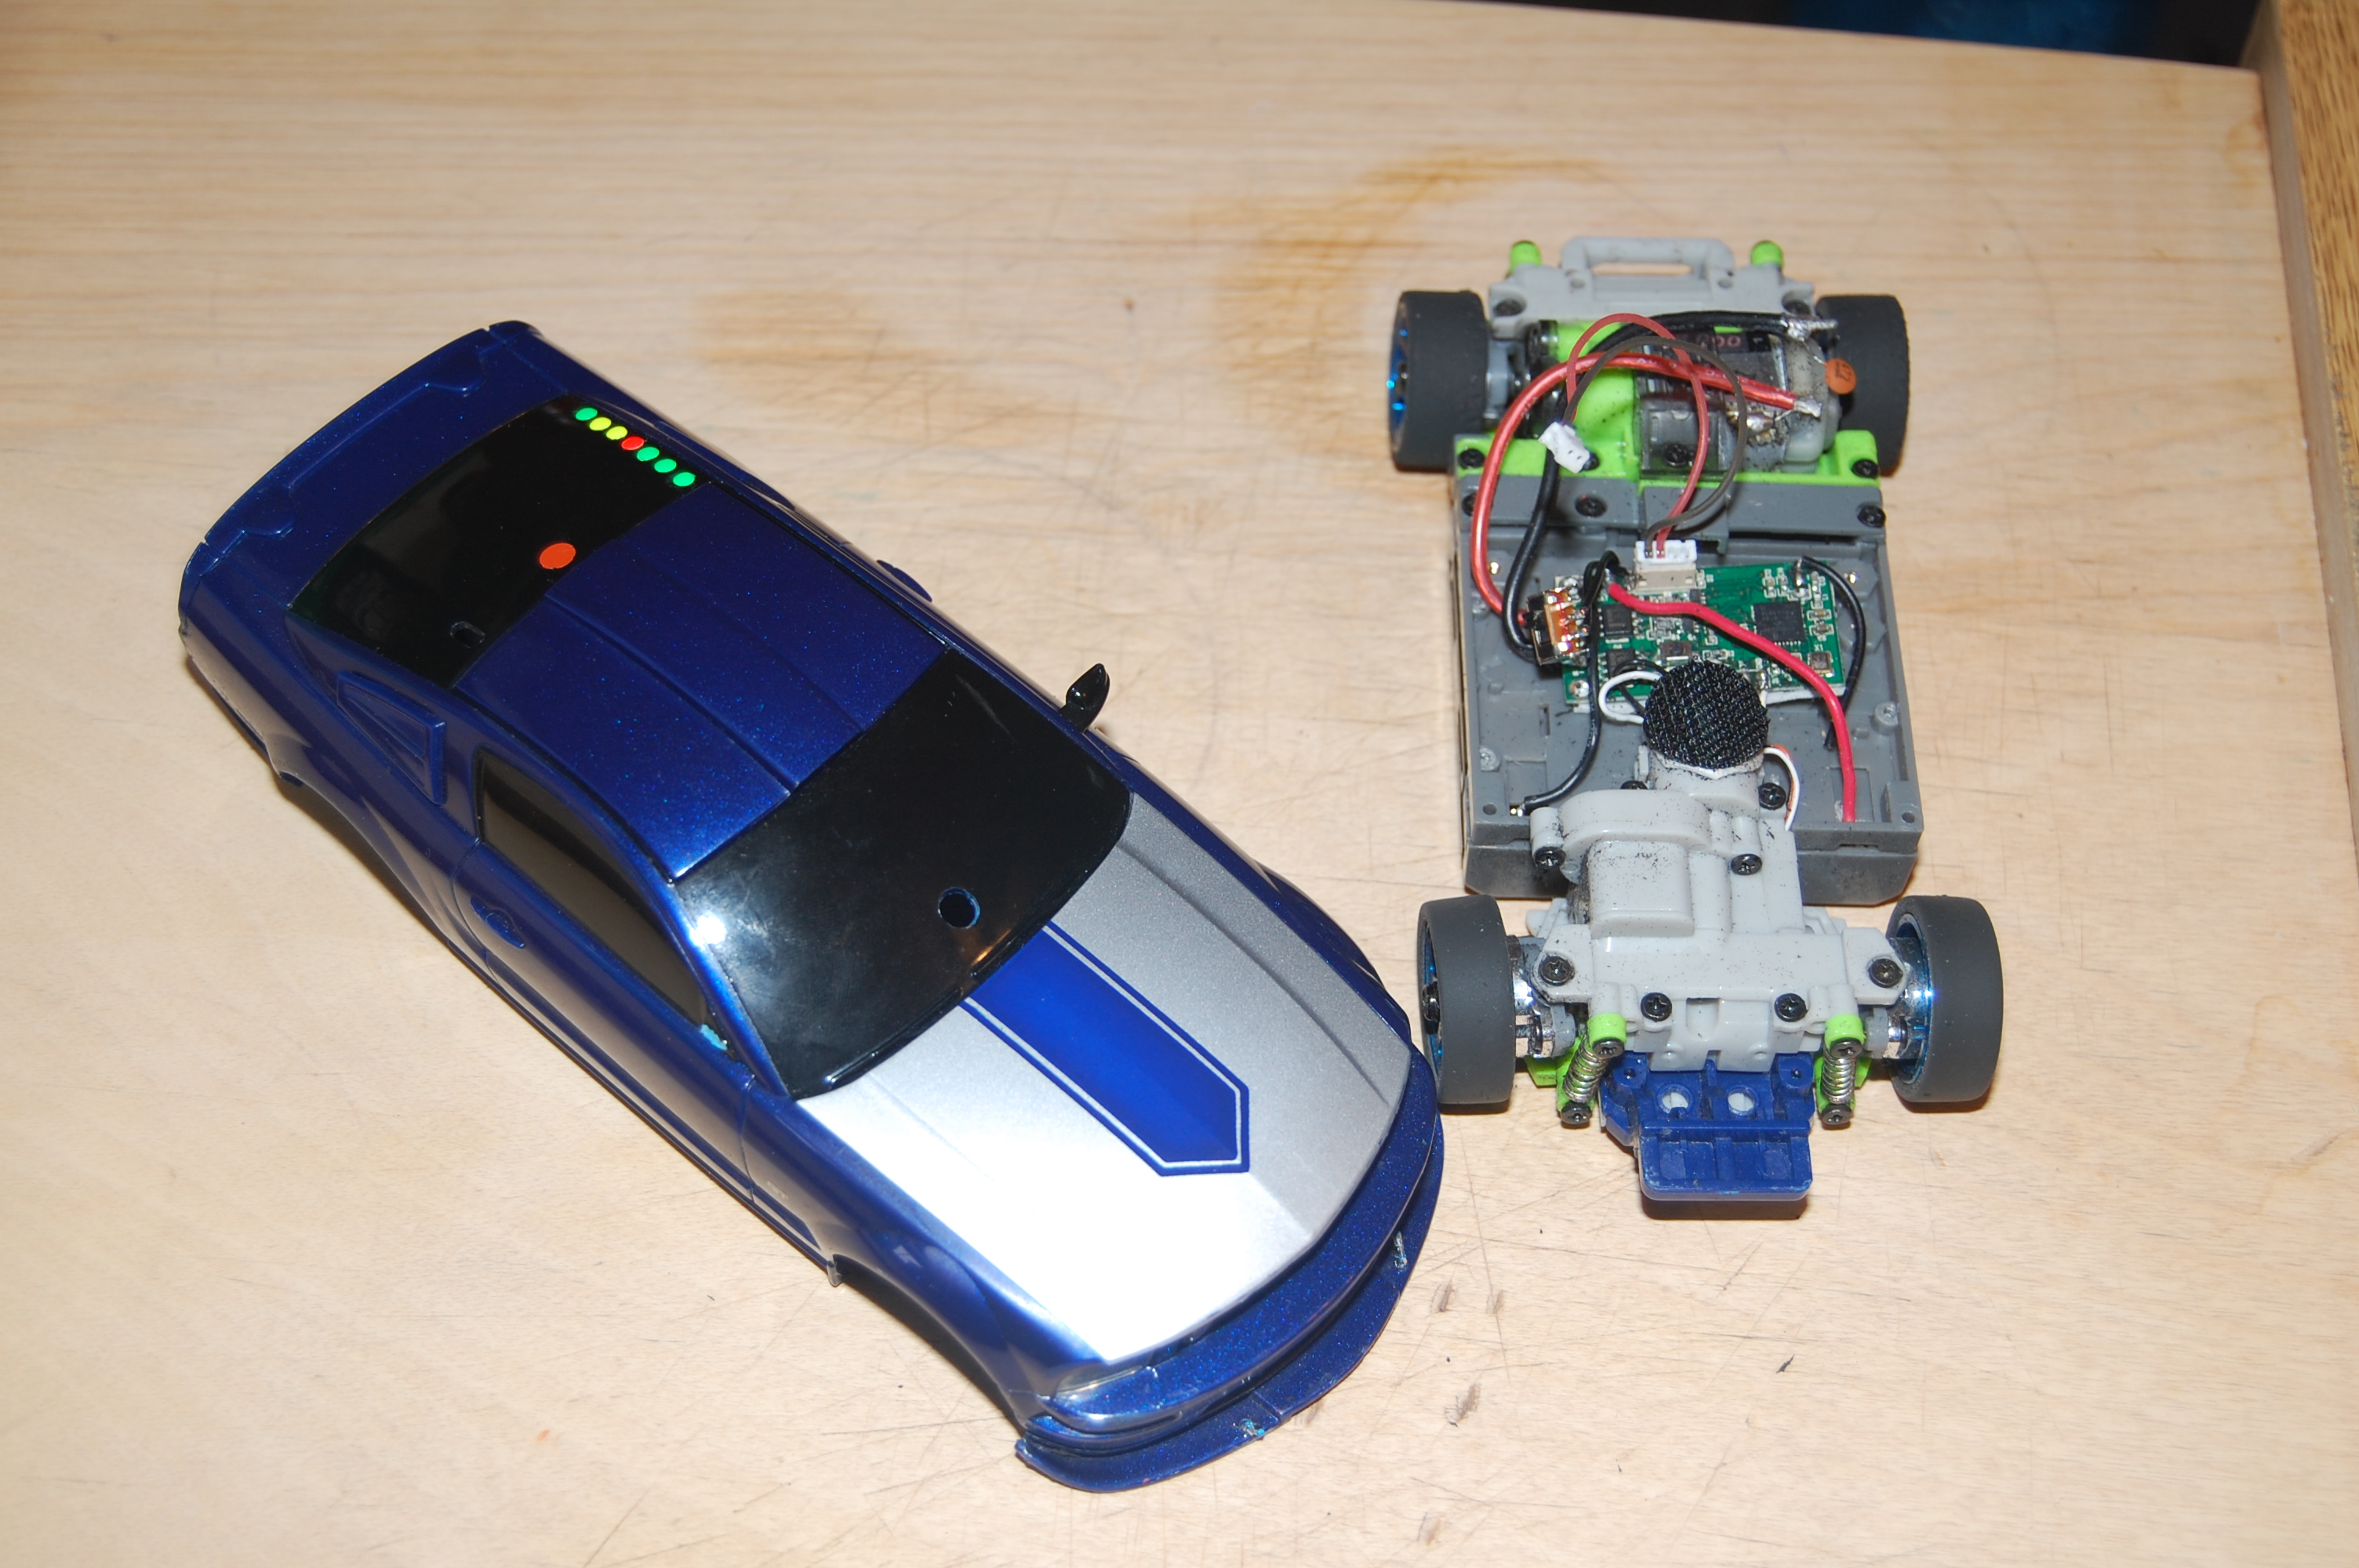 |
| XMODS Upgrade: Figure 1 | XMODS Upgrade: Figure 2 |
 |
|
| XMODS Upgrade: Figure 3 |
PN Racing Bluetooth ICS Apapter
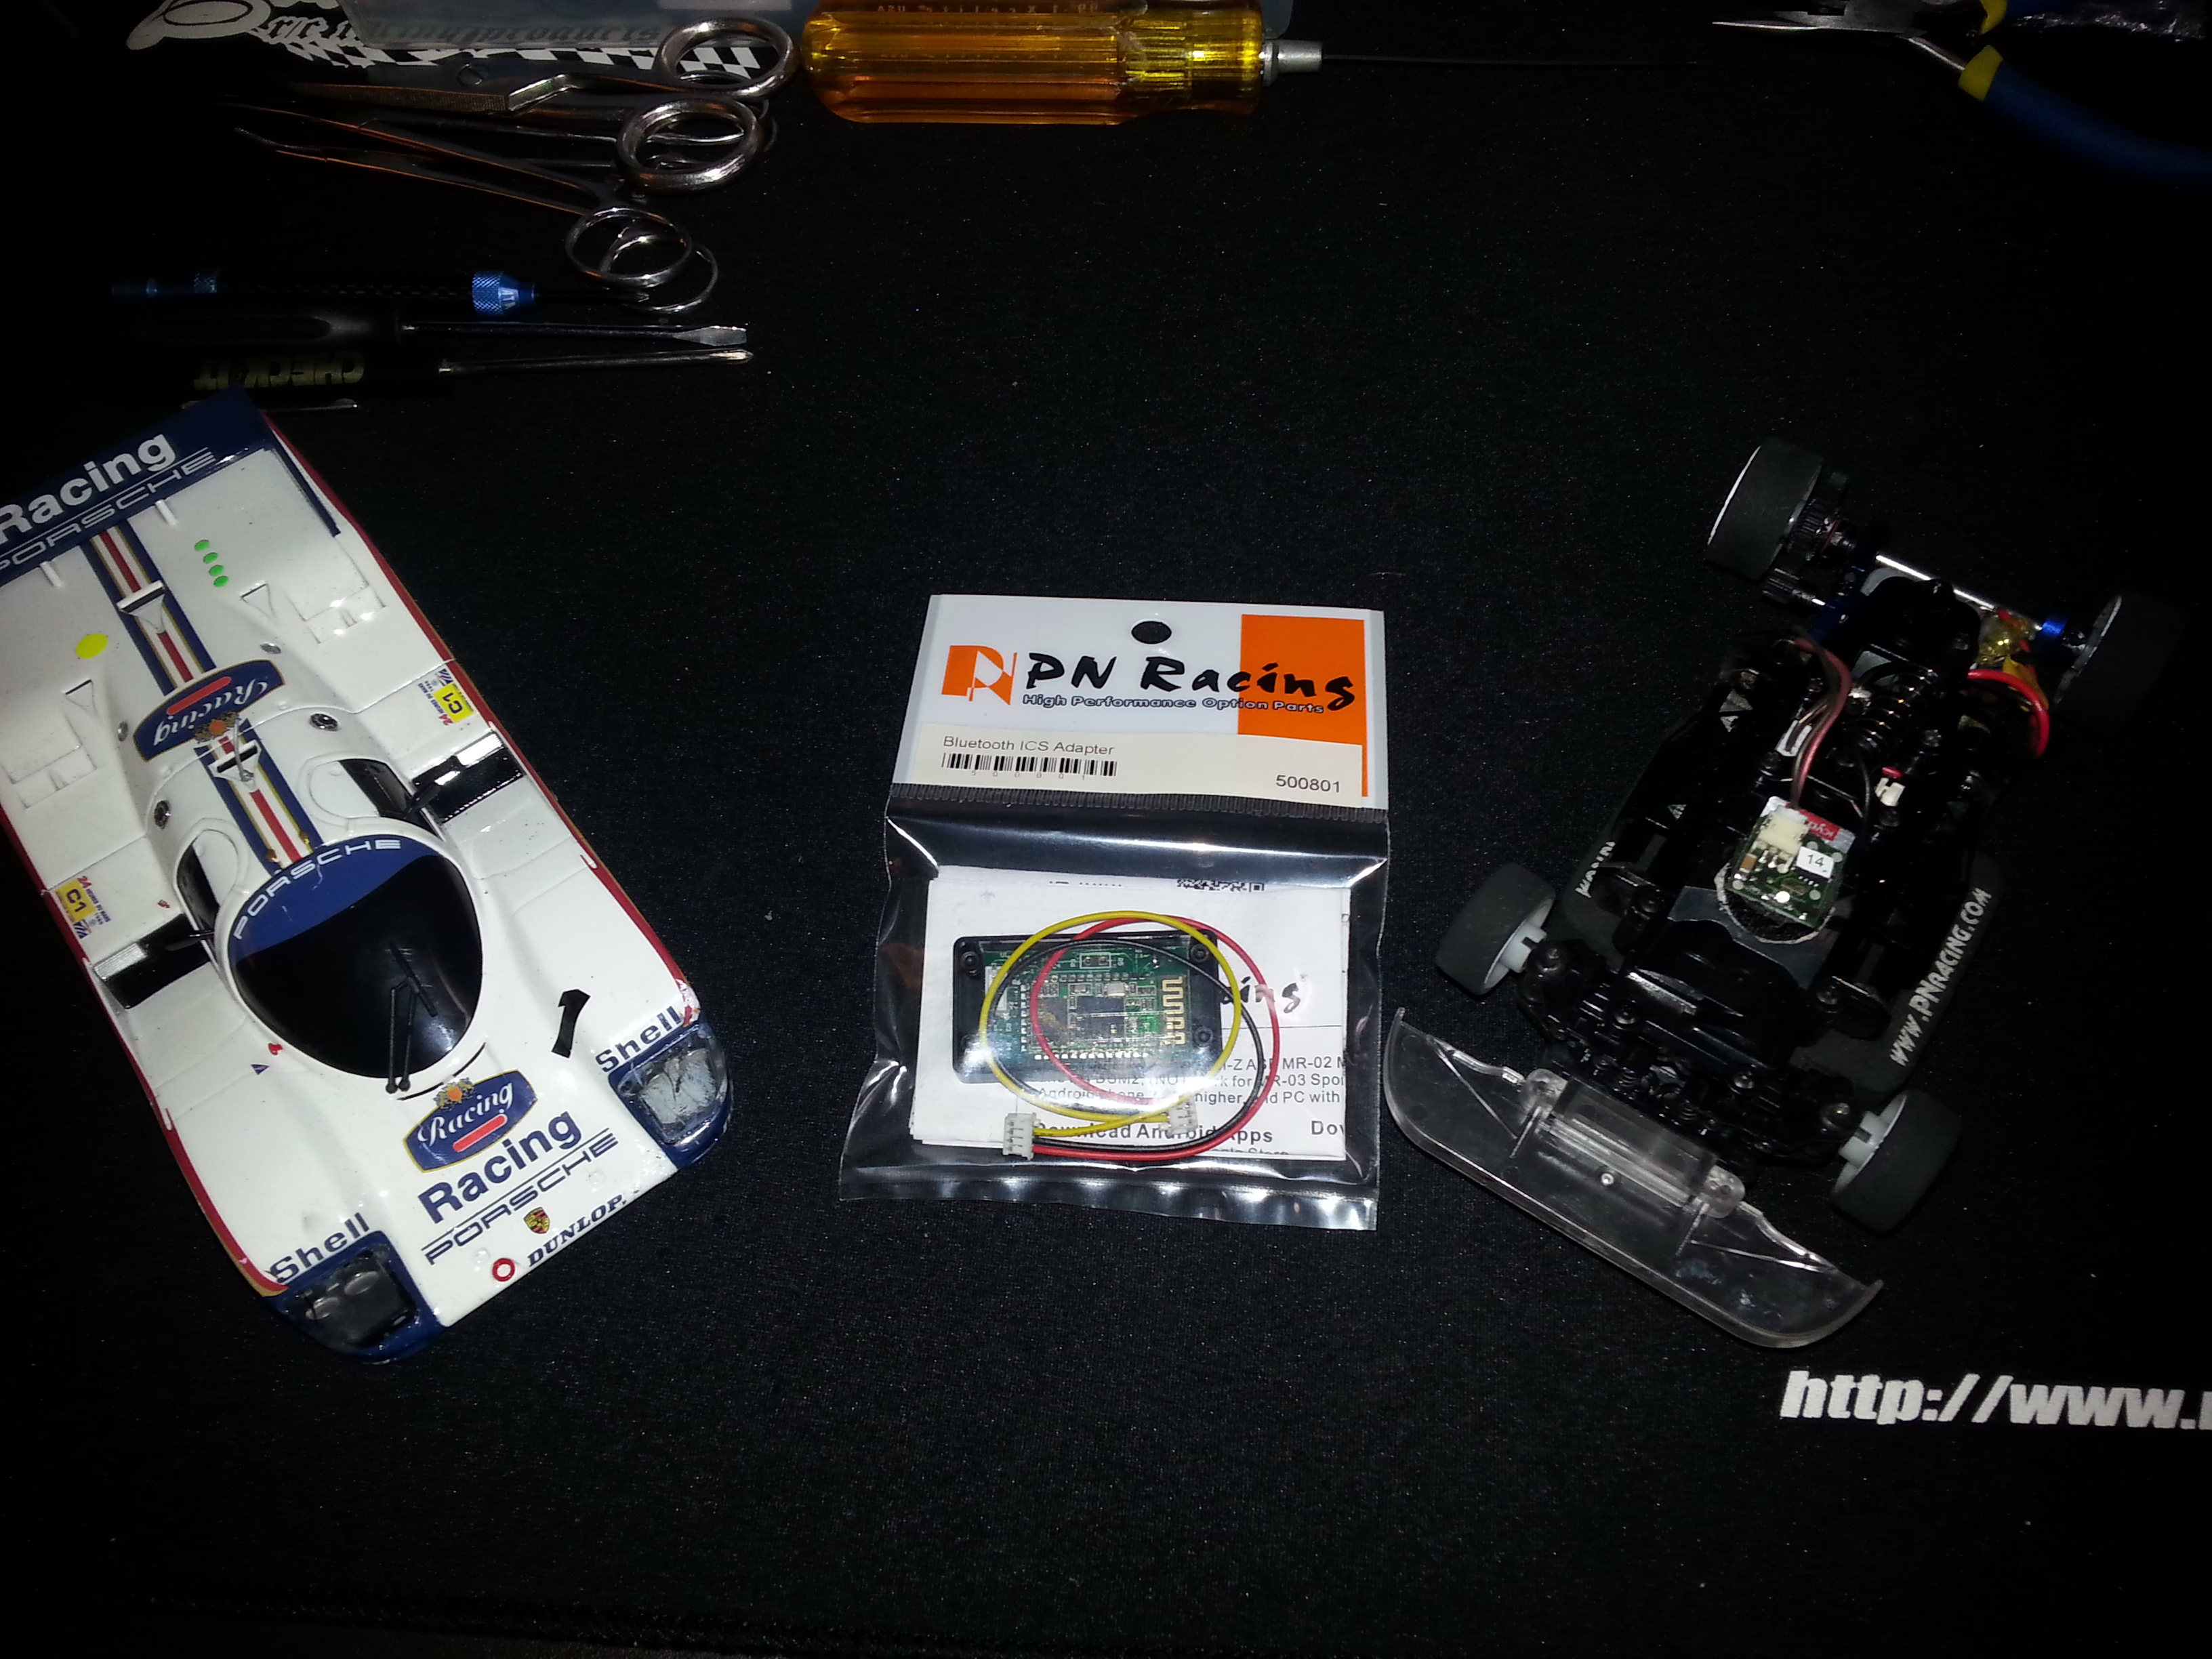
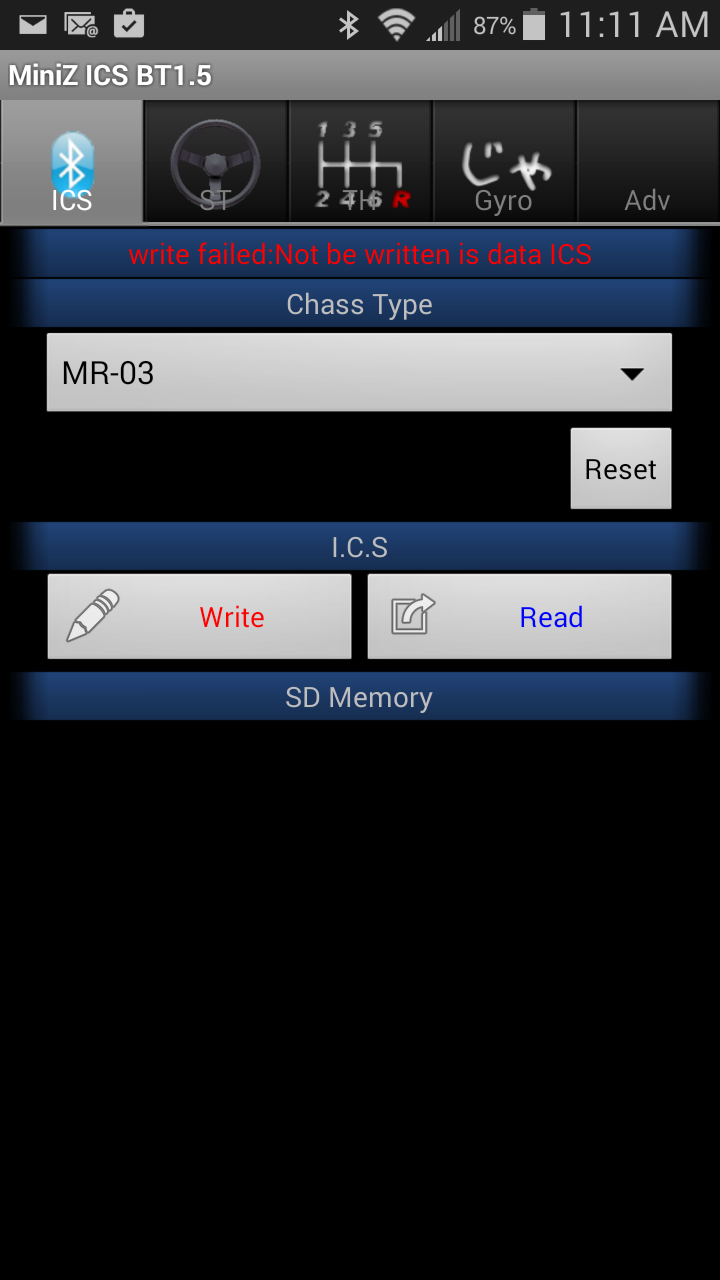
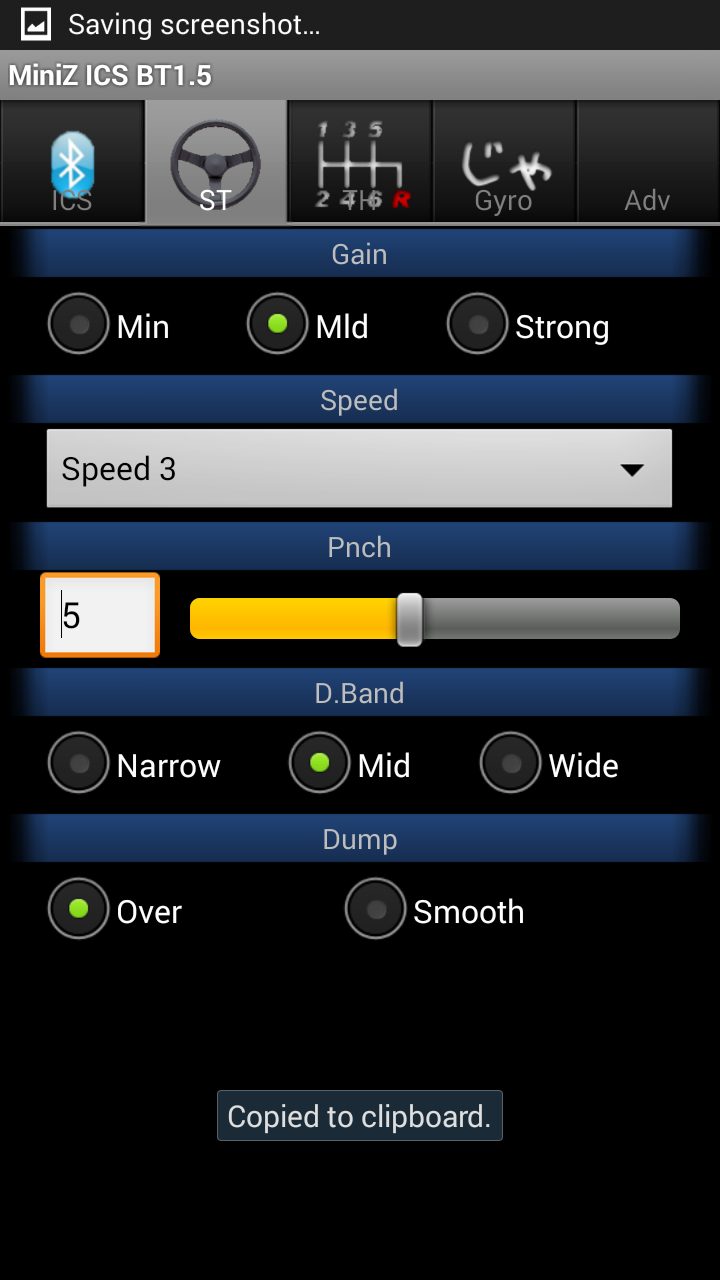
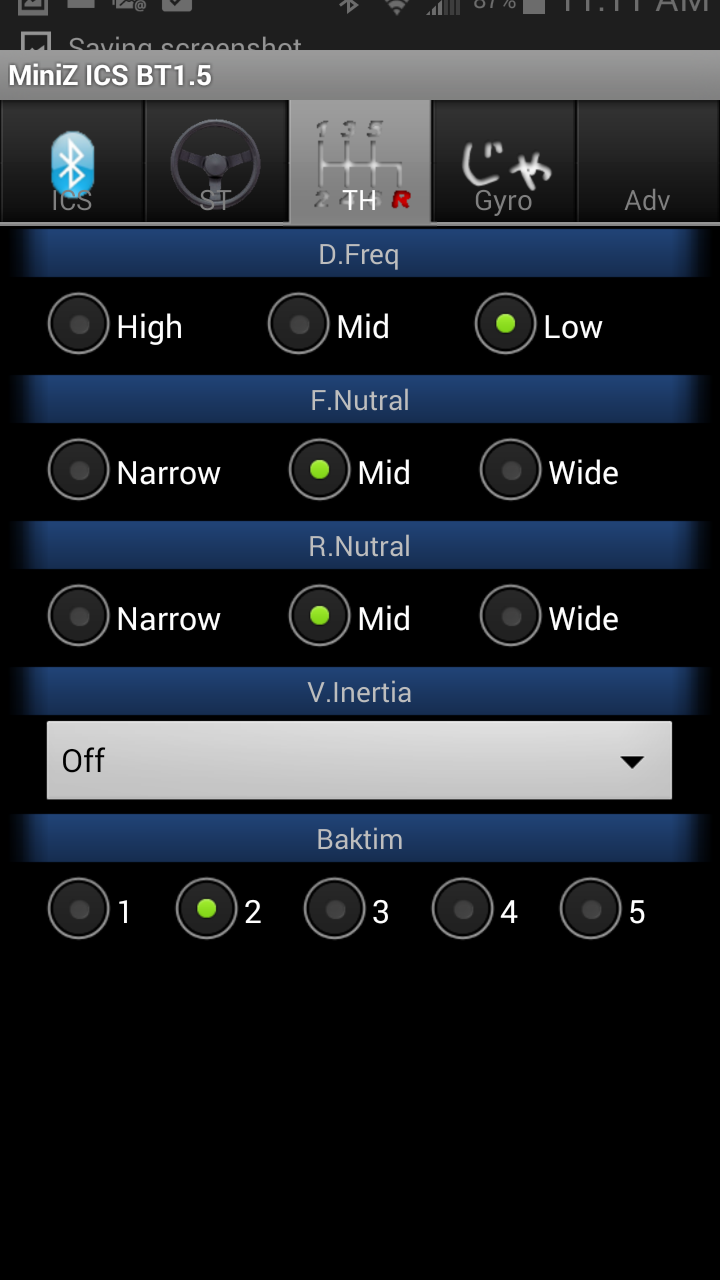
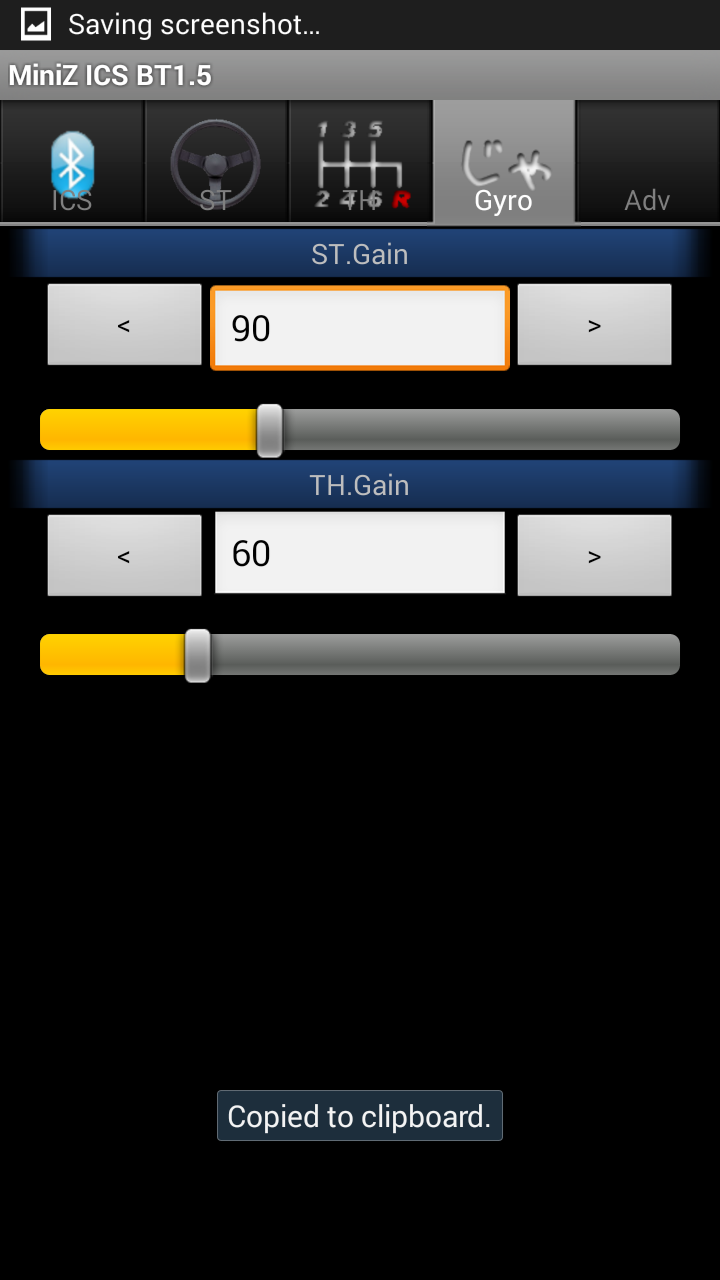
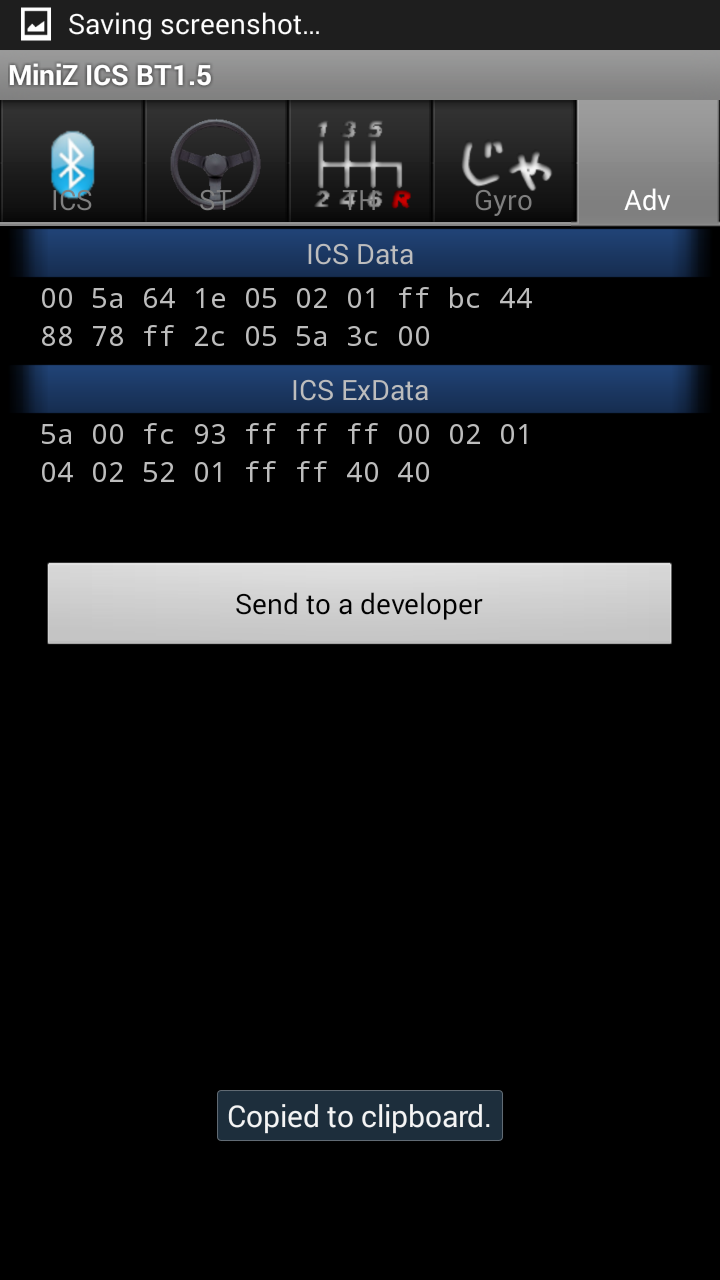
This is the bluetooth apater for the Mini-Z ASF MR-02, MR-03, MR-03VE and PN DSM2. It will not work with the MR-03 Sport version). It is compatible with Android phone 2.2 or higher, and PC with Bluetooth compatiblity. Currently I am not showing any Apple IOS software being available. The device itself is pretty low cost, at about $45 from Kenon Hobbies and the software to download is free.
For testing purposes, I used a Kyosho MR-03 that is currently configured as an LM car, not that this matters. You have the ability to tweak the steering, throttle and gyro (if you have one installed) settings for any of the above listed vehicles. I find it very convient, since the software I downloaded has been installed onto my Android Smart Phone.
 |
 |
| ICS Apapter: Figure 1 | ICS Apapter: Figure 2 |
 |
 |
| ICS Apapter: Figure 3 | ICS Adapter: Figure 4 |
 |
 |
| ICS Adapter: Figure 5 | ICS Adapter: Figure 6 |
 |
|
| ICS Apapter: Figure 7 |
Differential gear updated pitch experiment
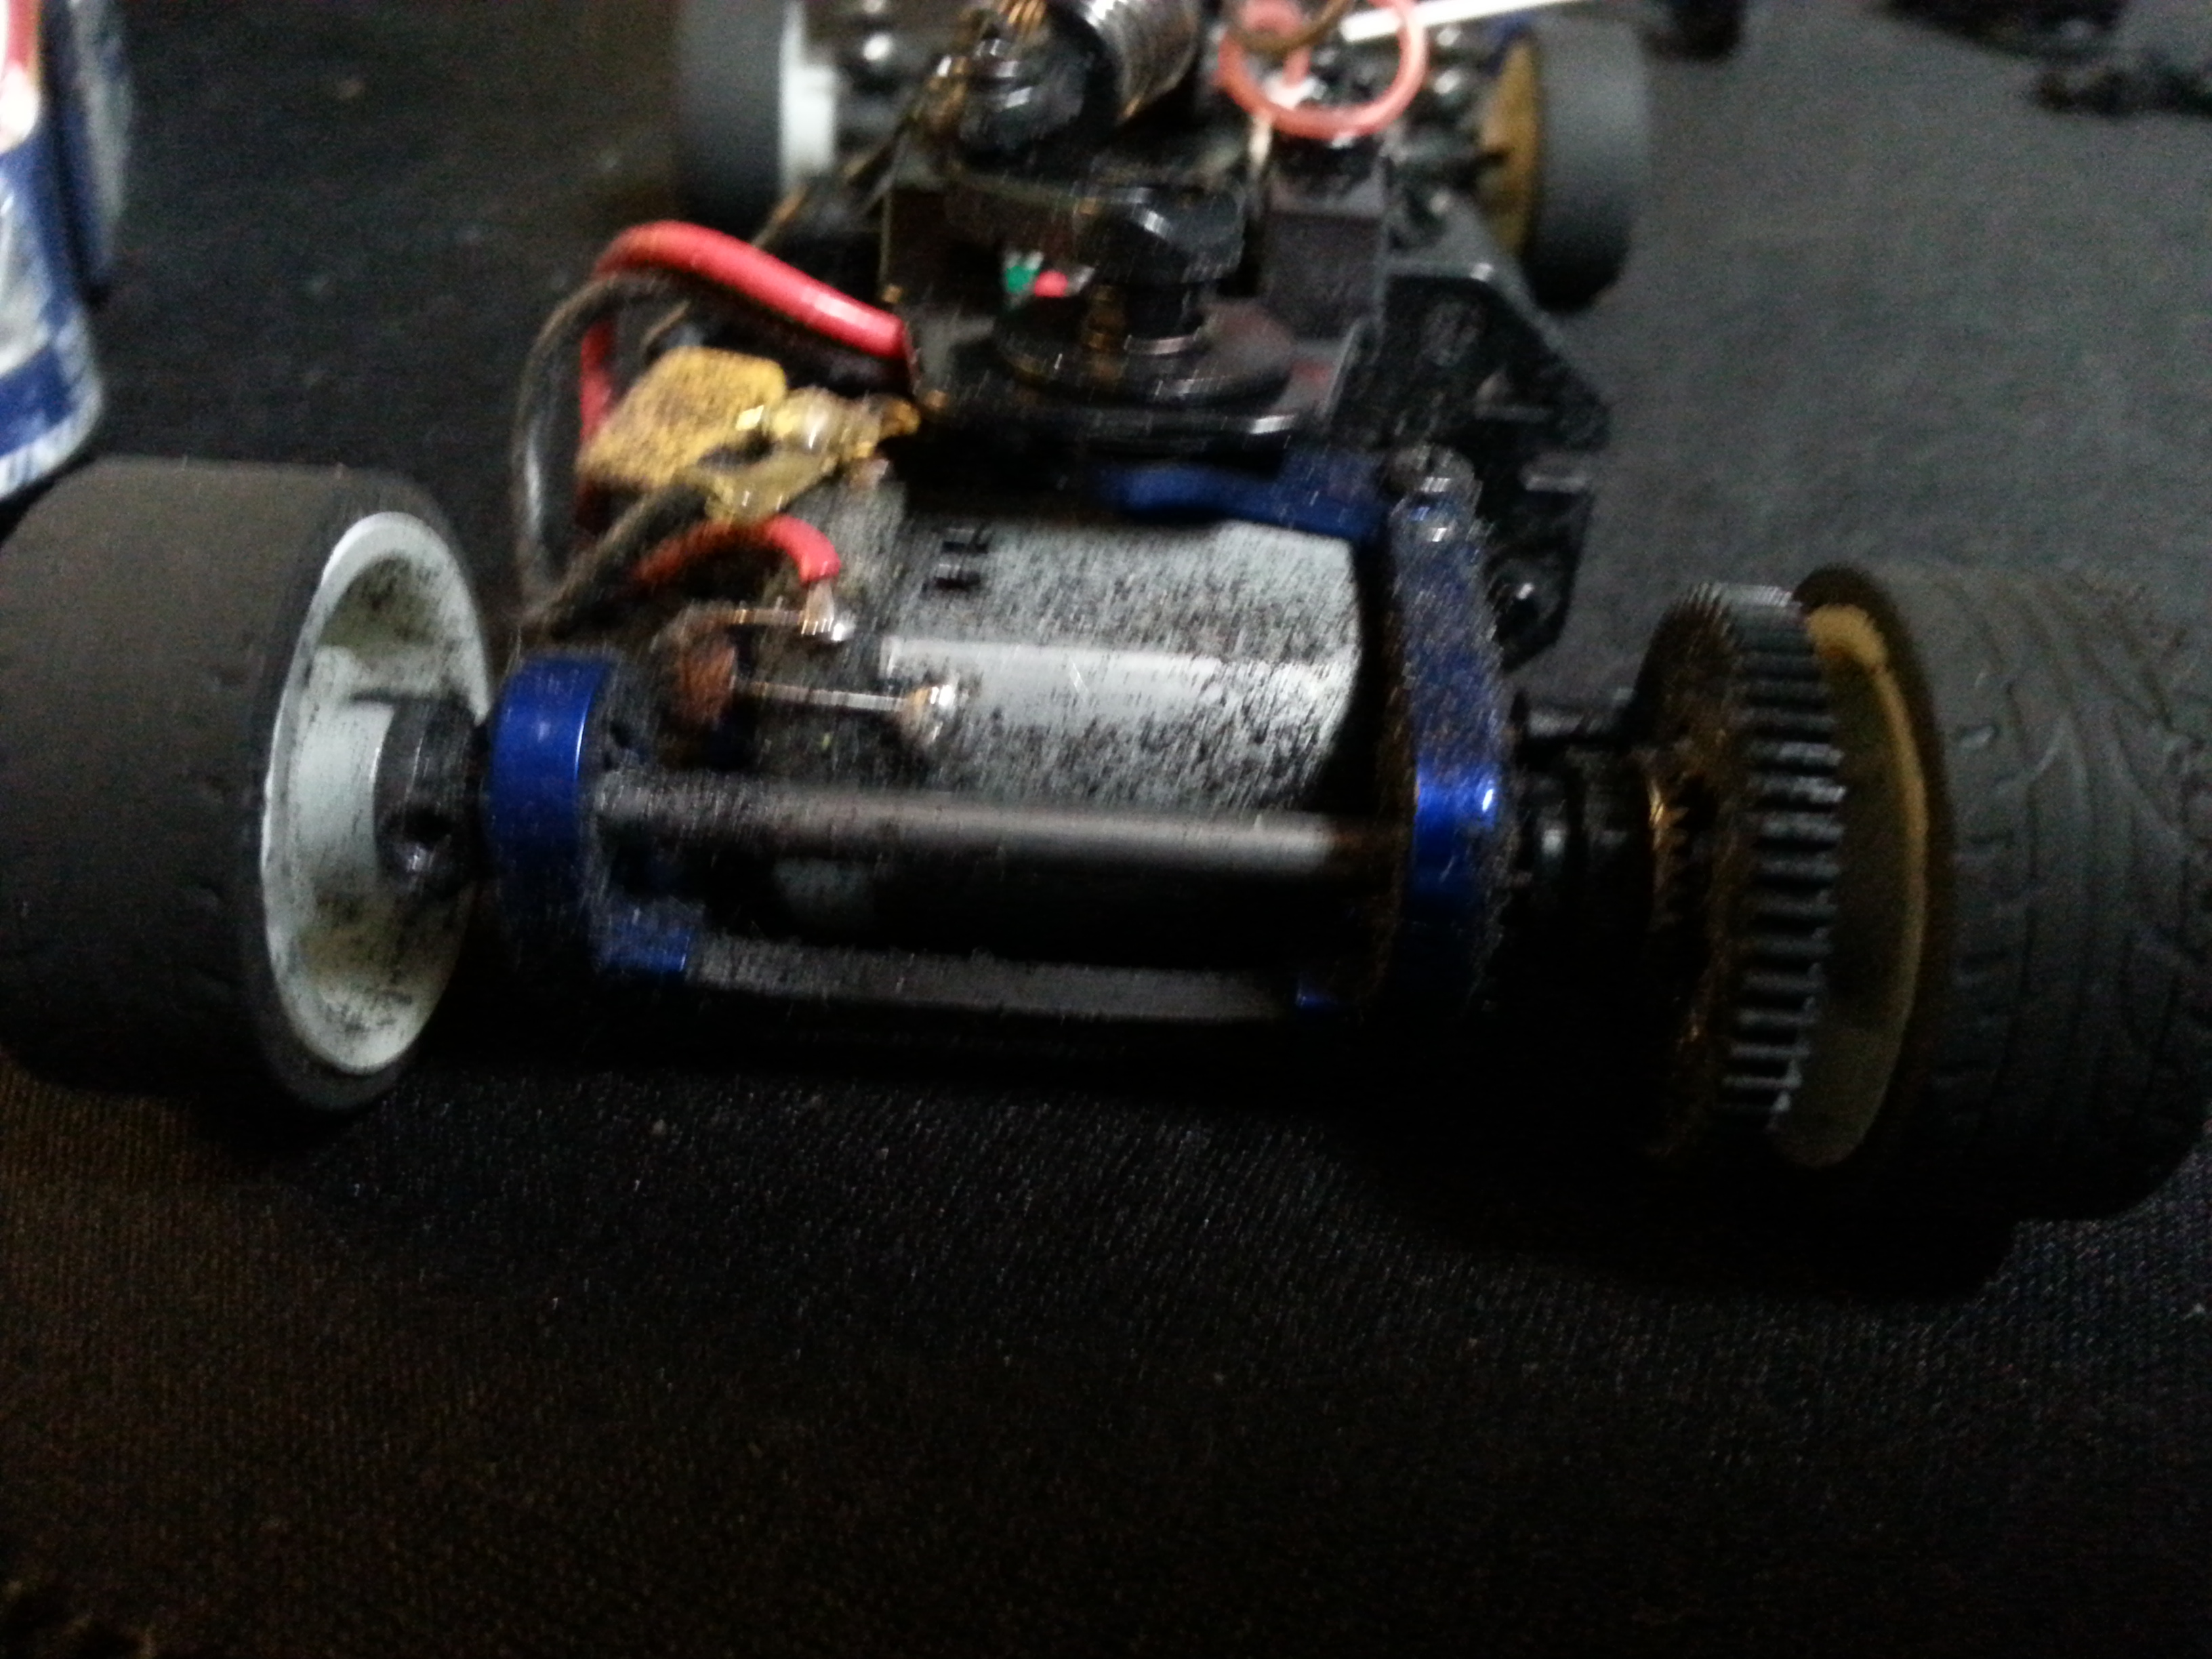
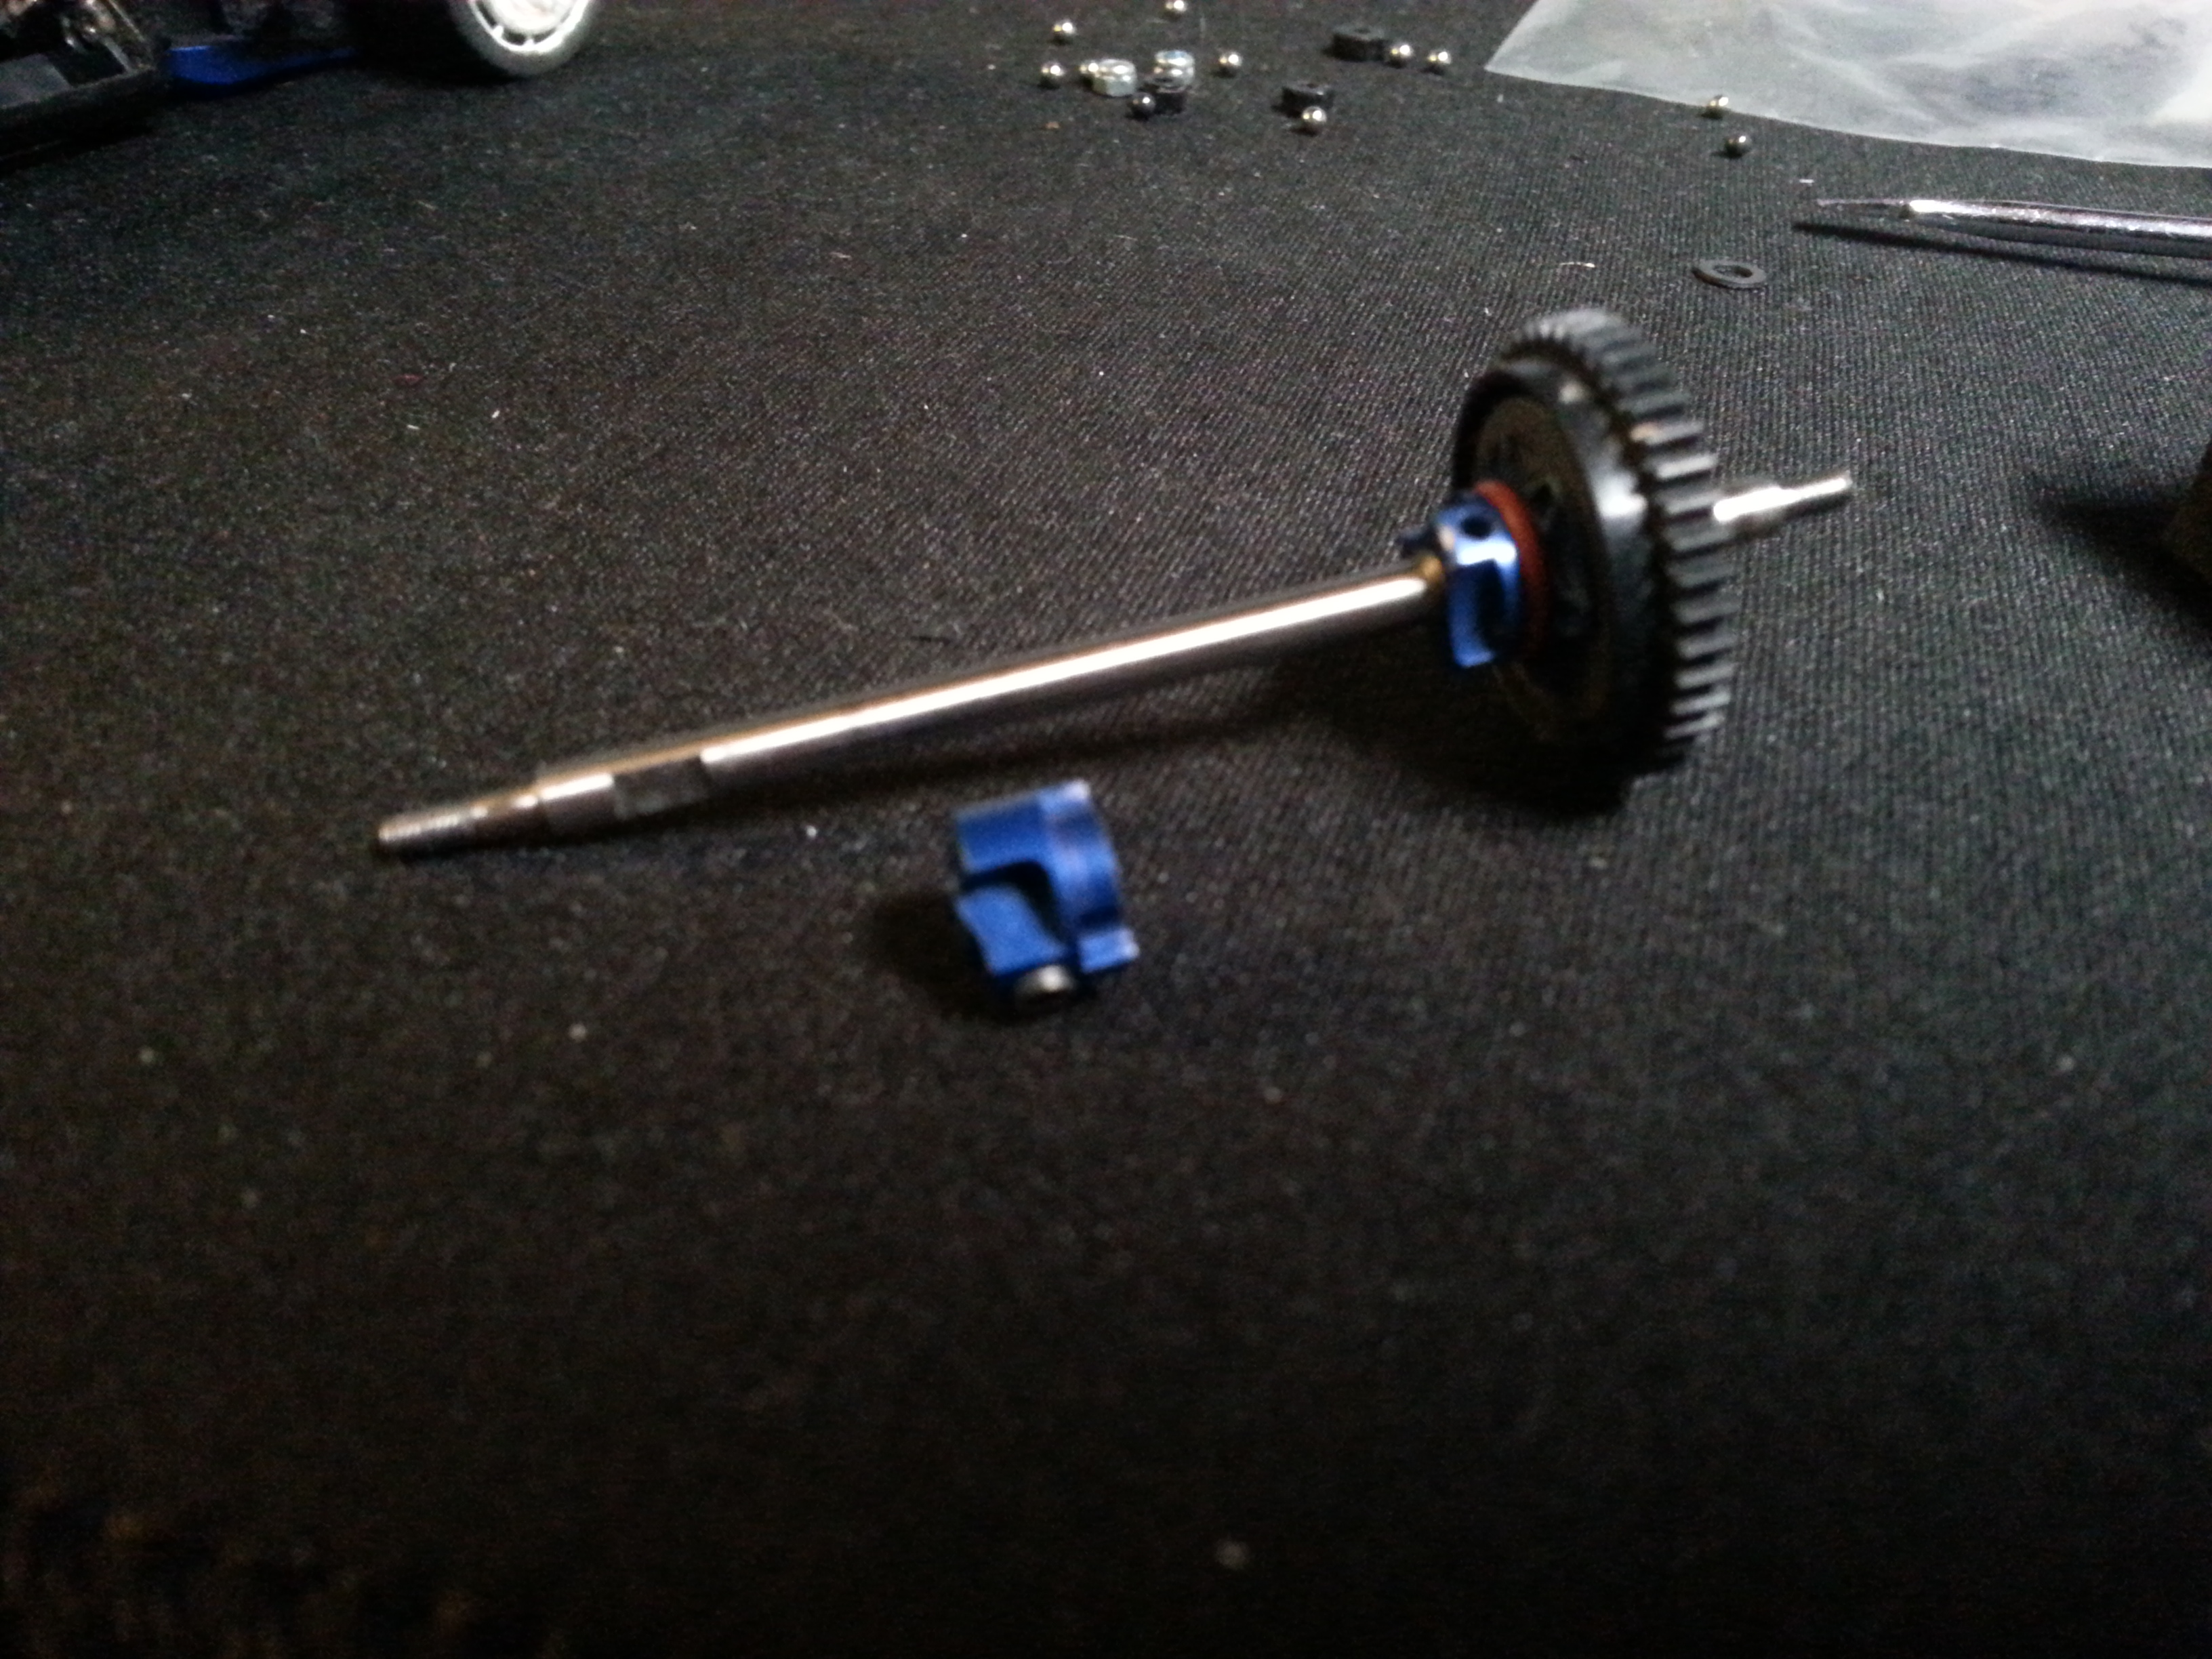
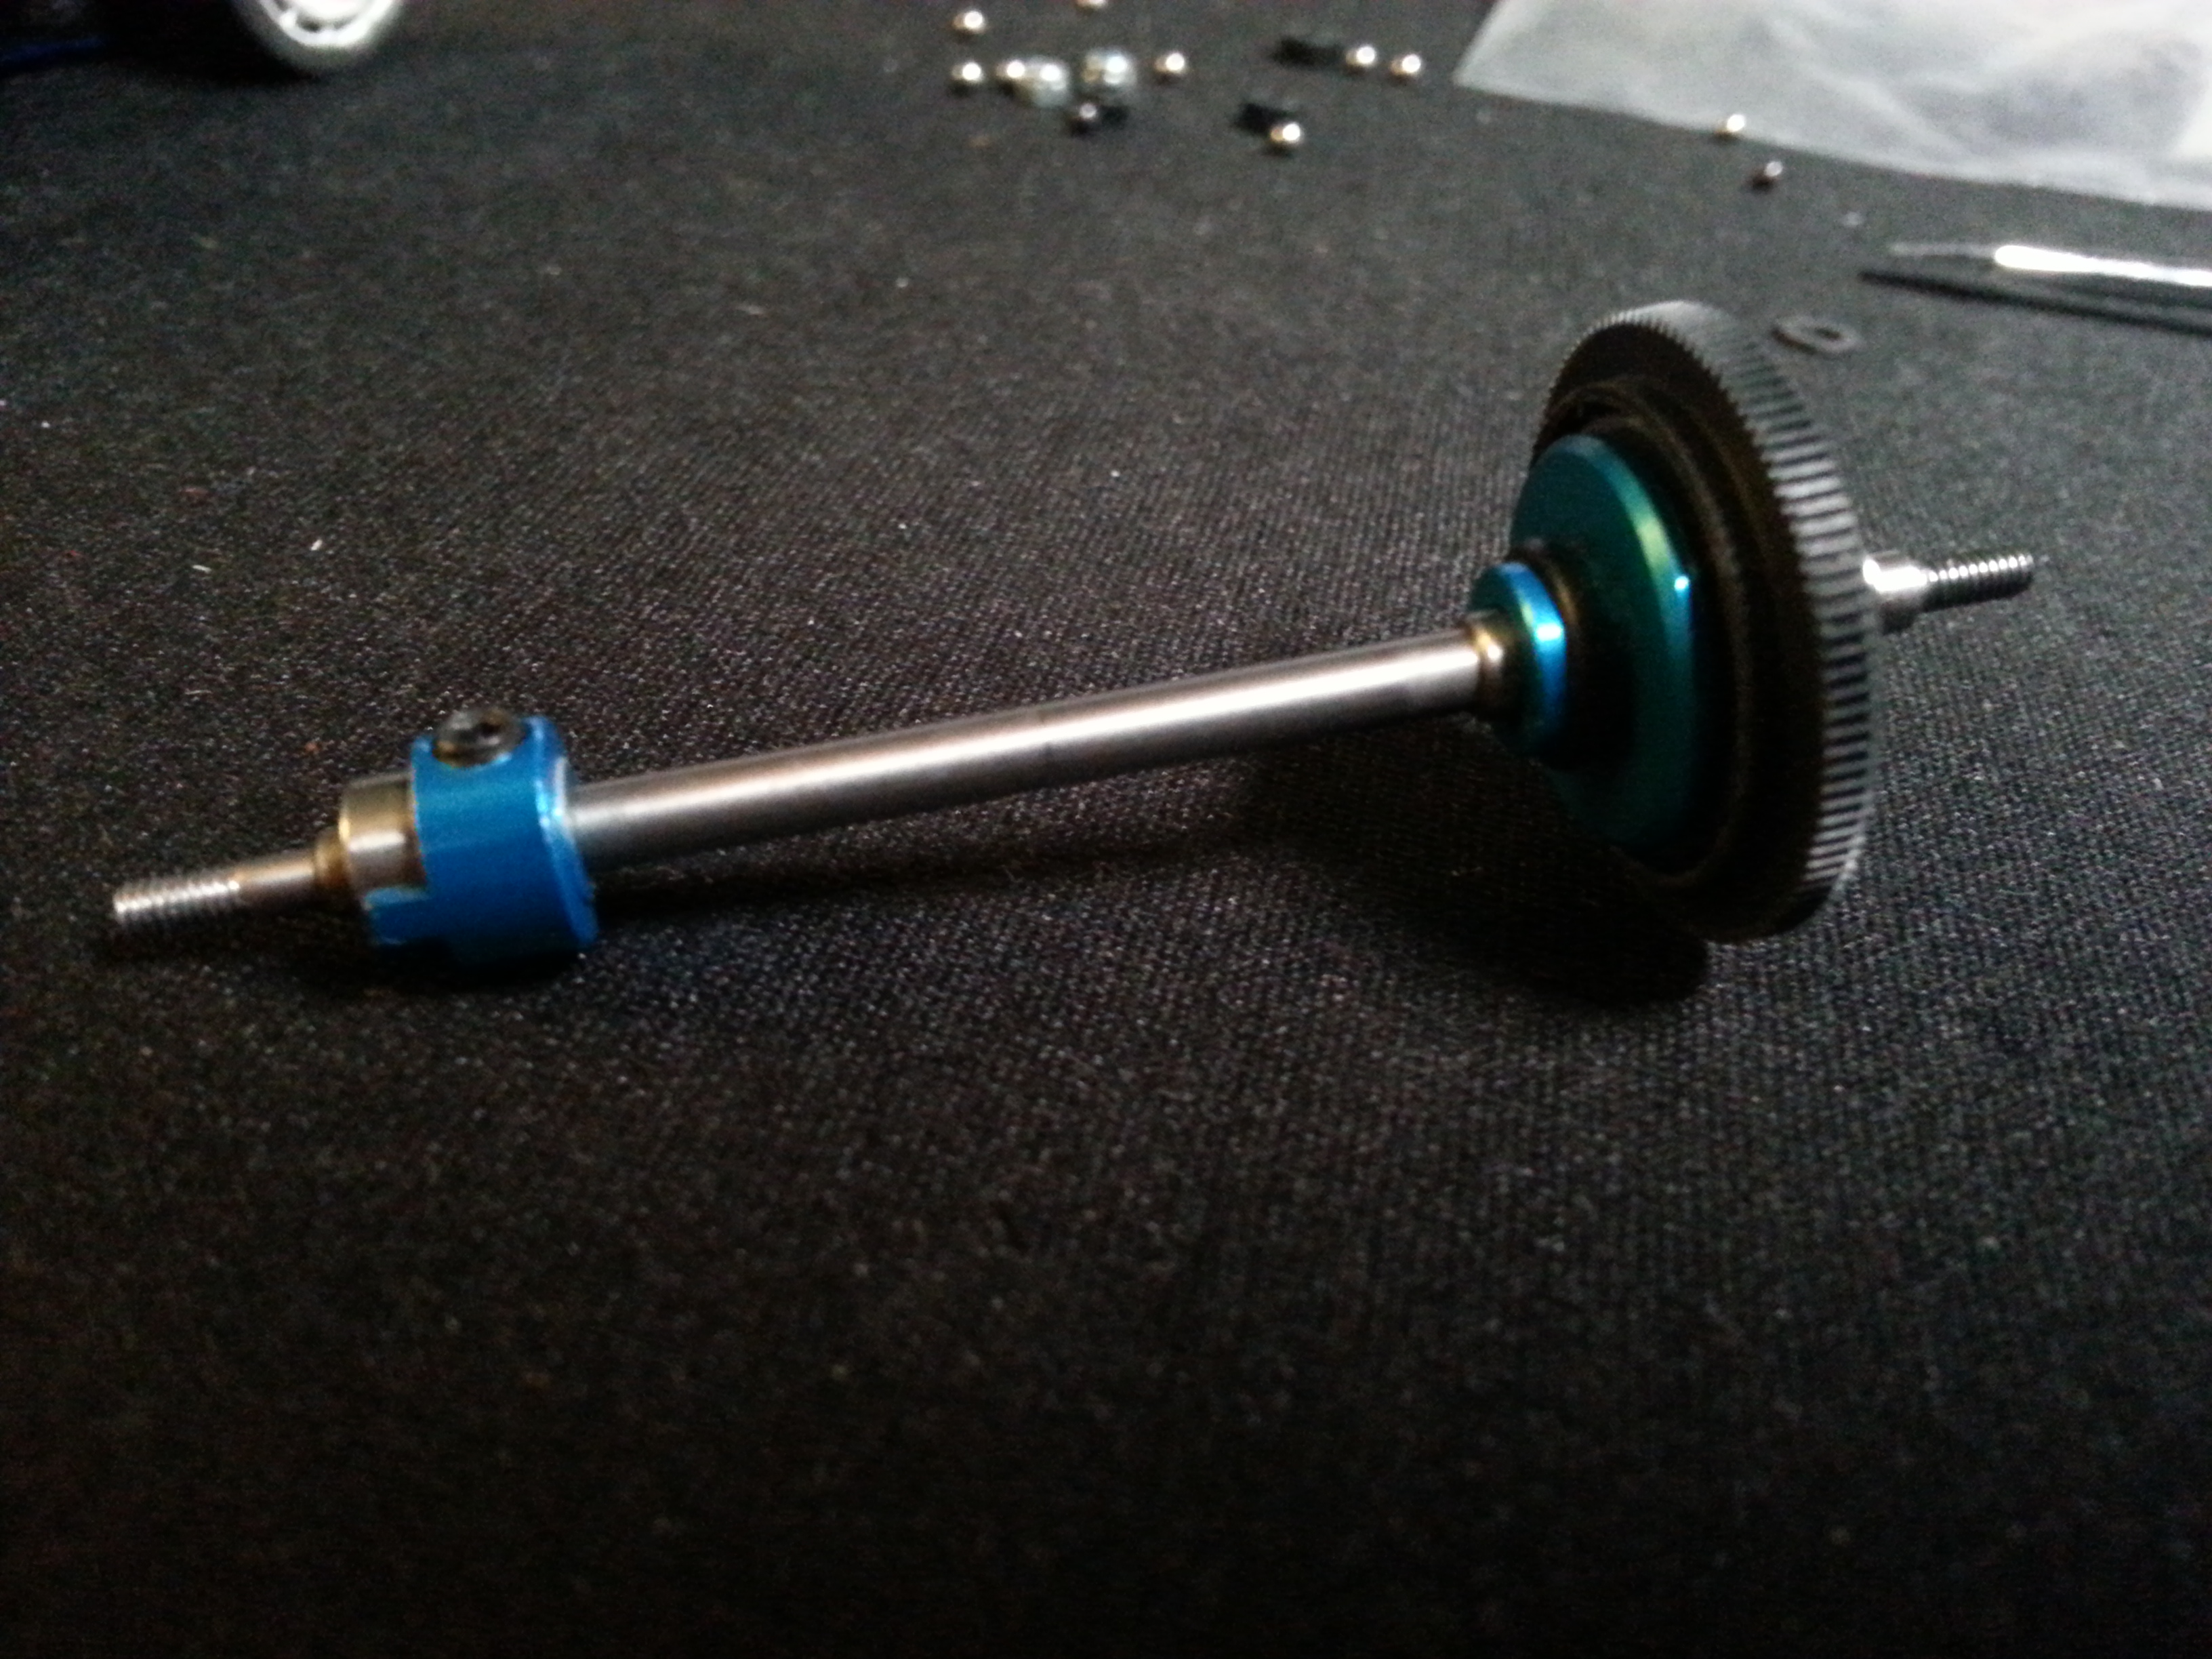
I am using a Kyosho Mini-Z MR-03 configured as a low-motor version as the basis for this experiment (see Figure 1). Currently this vehicle has a rear ball-differential with 43-pitch gears (see Figure 2), which are the standard pitch that comes with the car. I did have enough components to be able to assemble two ball differentials. The first one (see Figure 3), I used the standard 43-pitch gears. This gives me a backup for the ball differential that is currently installed in the car. The second one (see Figure 4), I used the new 126-pitch gears. I am hoping that the new set of gears will provide a smoother running car. I am not sure about the speed difference, as the gear ratio is roughly the same for both gear sets, but testing will provide that information.
As it turns out, I was unable to use this vehicle for testing as the two ball differentials that I put together are for a mid-motor version. I then switched to a Kyosho Mini-Z MR-02 car that I had. I have installed the default 43-pitch ball differential into the car and started to tweak all of the settings in order to make it constant in driving around the track. I will then put the 126-pitch ball differential into the car after running some time trials to see if there is a difference in speed between the two.
I am planning on running my tests tonight, which my intension is to post on this site the lap times for both differentials. I am hoping to be able to put this into a table, but I will need to see once I have everything collected.
 |
 |
| Differential Project: Figure 1 | Differential Project: Figure 2 |
 |
 |
| Differential Project: Figure 3 | Differential Project: Figure 4 |
PN Racing Chassis Build
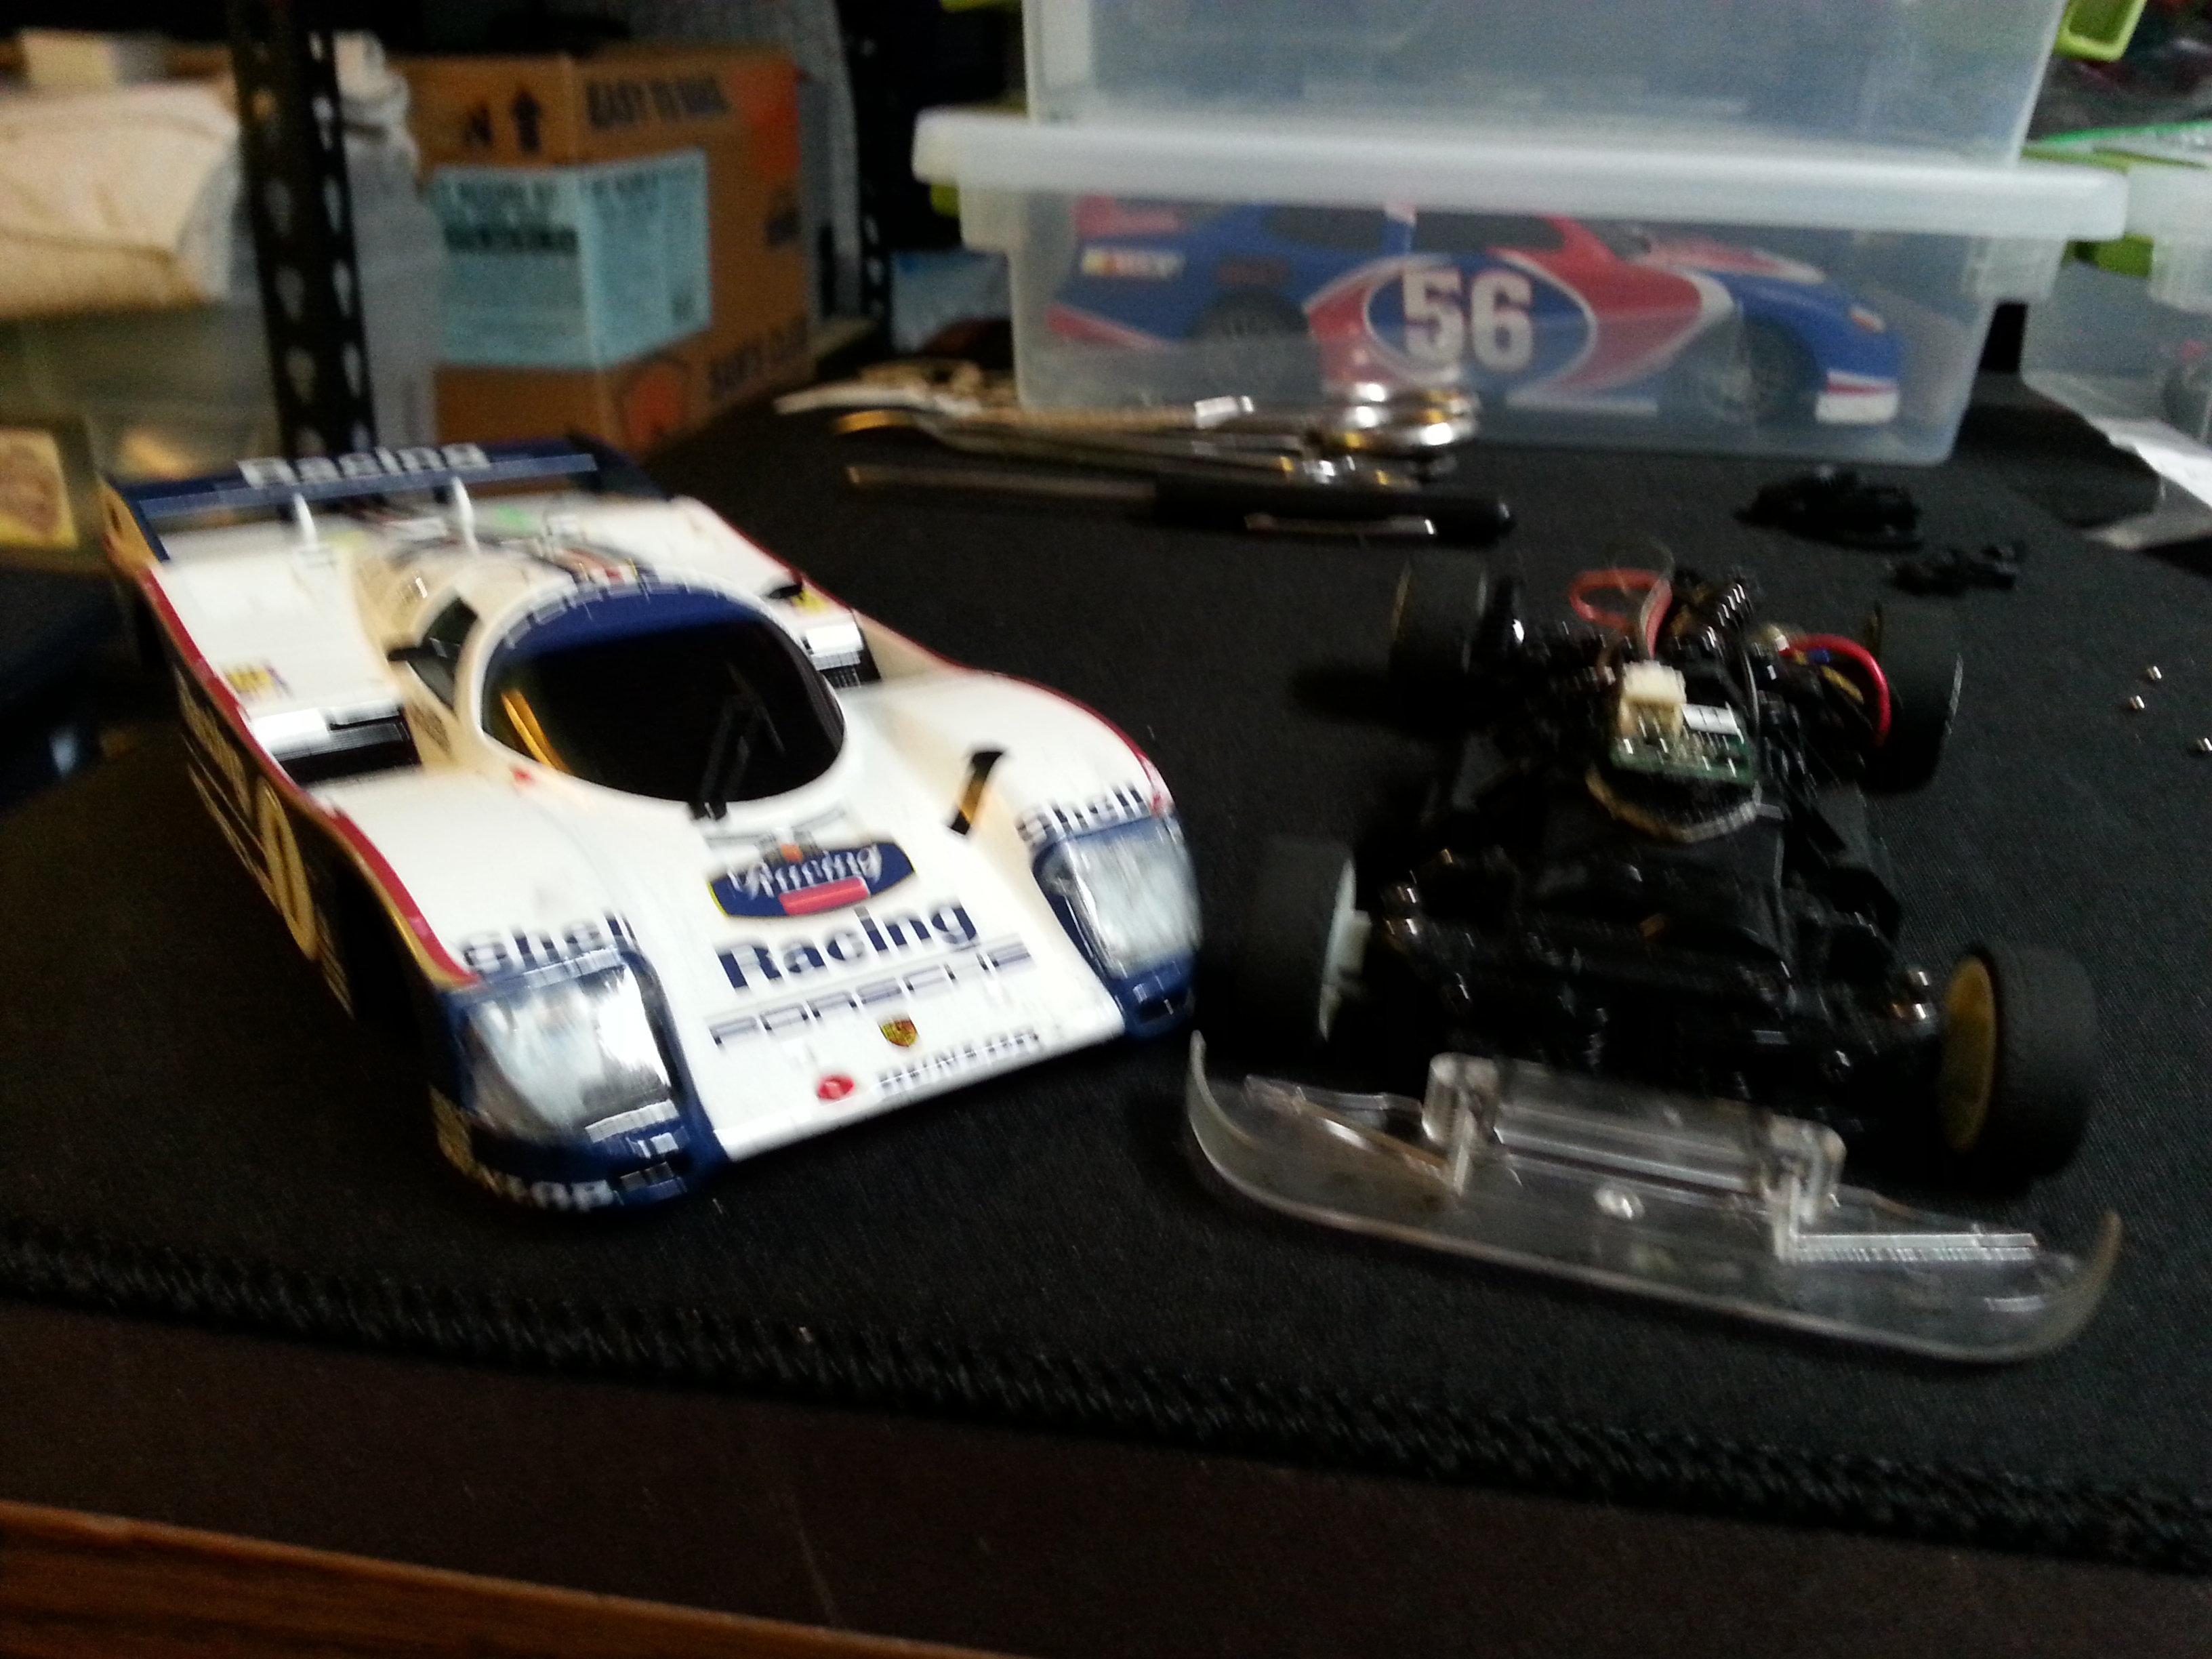
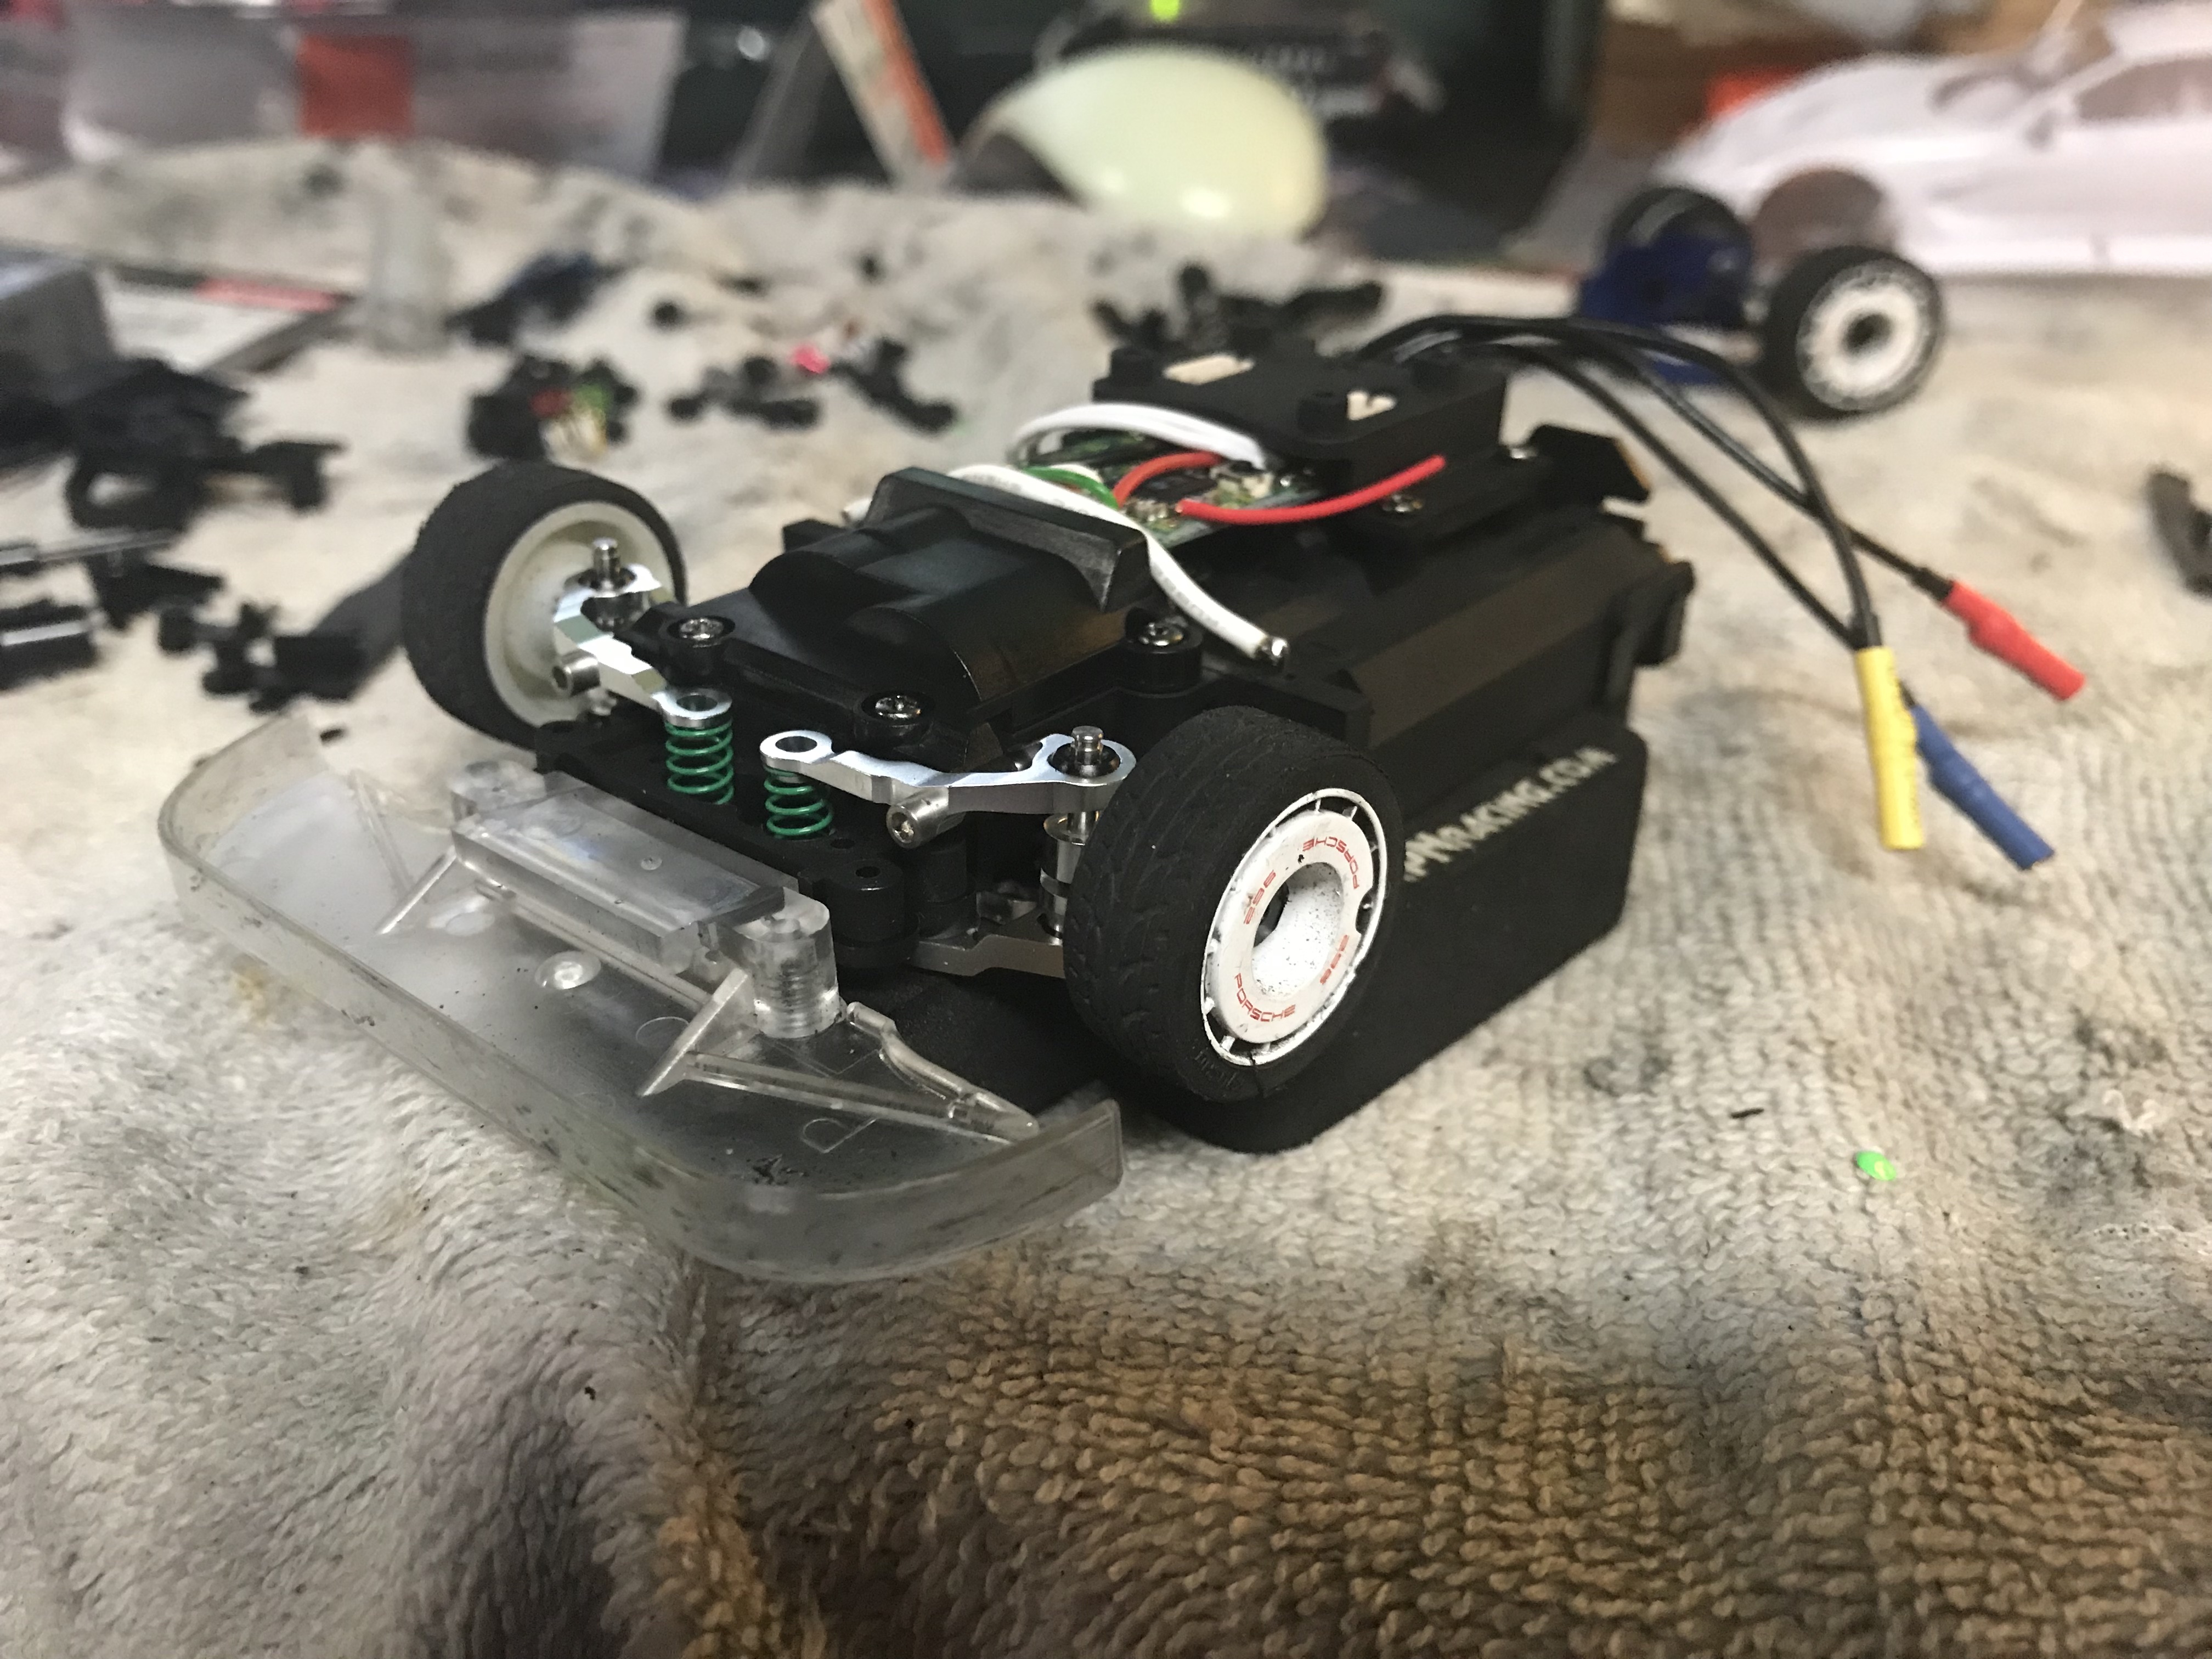
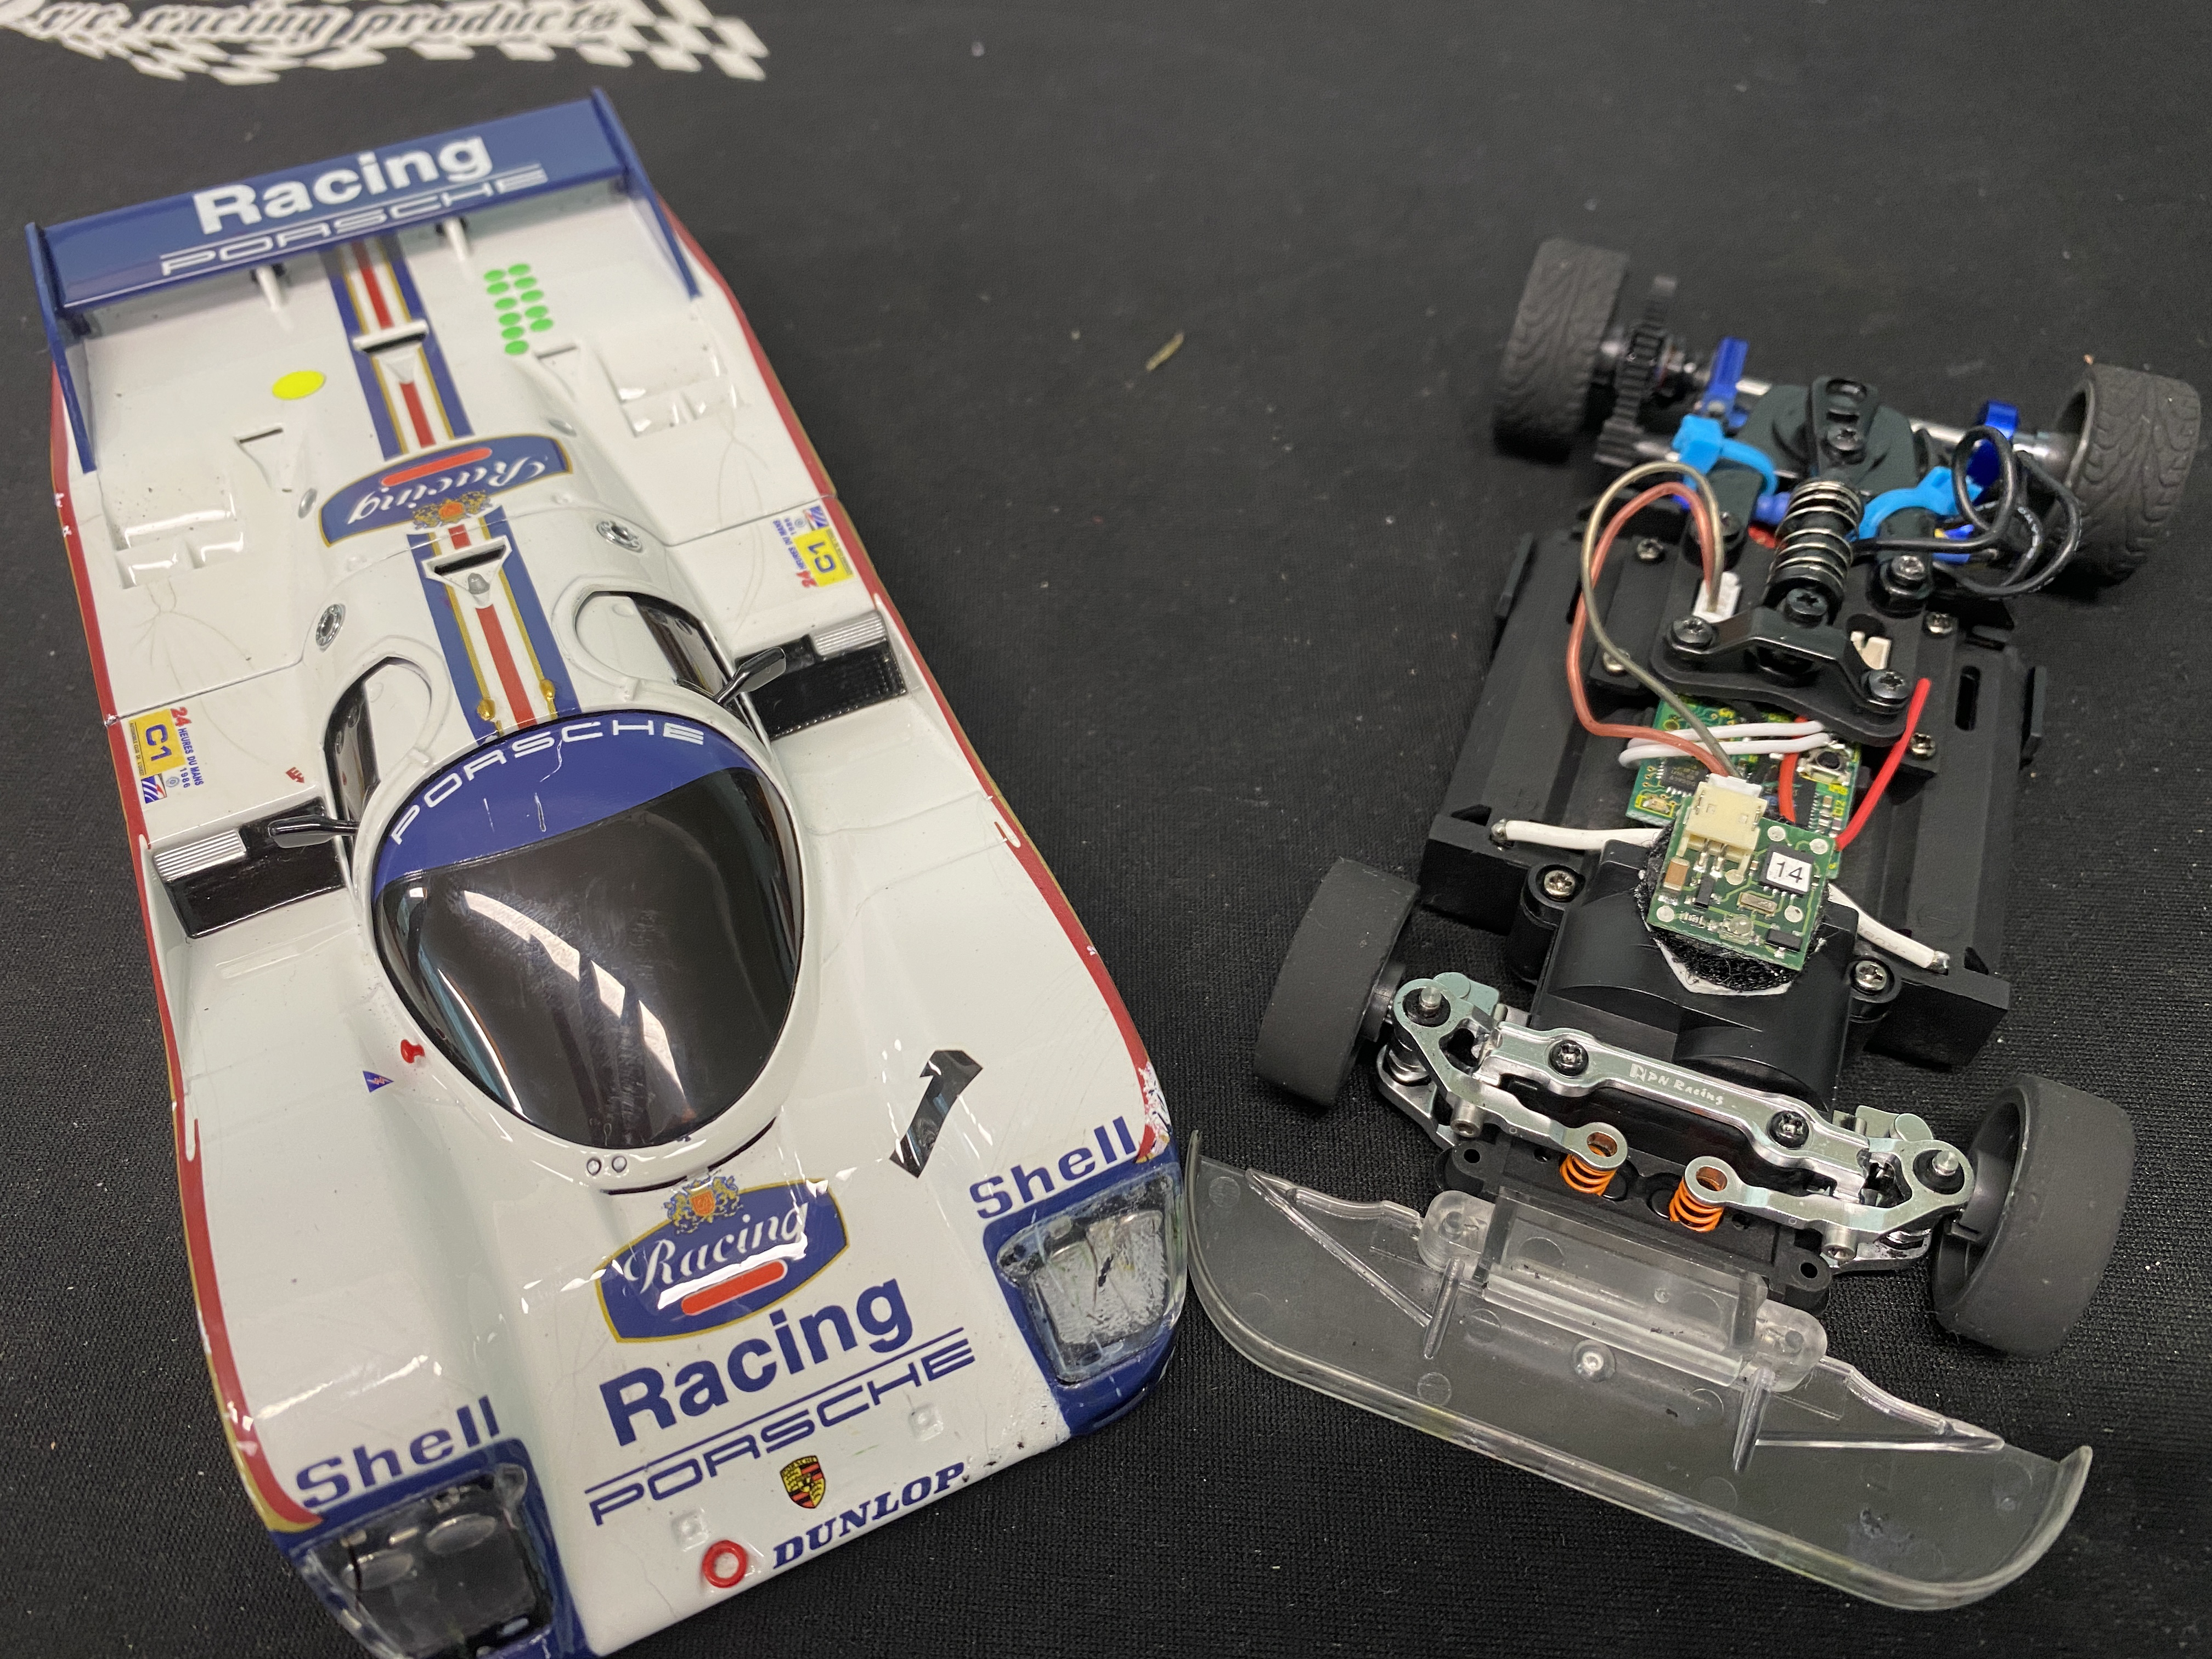
For my next project, I decided that I wanted to build a new Mini-Z car for racing, but wanted to build the vehicle from scratch rather than buying a car pre-built. I based the build on the PN Racing Mini-Z PNR2.5W Chassis Kit from Kenon Hobby. I then built up the rest of the car using primarily PN Racing parts. It is paired with my radio and working well, but I ended up using Low-down knuckles with a Low Motor (LM) configuration, which has caused some issues with wheels and the height of the chassis to the ground. I have been running stock Mini-Z wheels on the car, which has been working fine, but I am considering putting standard knuckles in order to get back to the stock wheels for the Porsche 962 body that I am currently running on the car.
I have every intention on adding a four photo of the car in its completed form, but I am still in the process of tweaking everything.
 |
 |
| PN Racing Chassis Build: Figure 1 | PN Racing Chassis Build: Figure 2 |
 |
 |
| PN Racing Chassis Build: Figure 3 | PN Racing Chassis Build: Figure 4 |
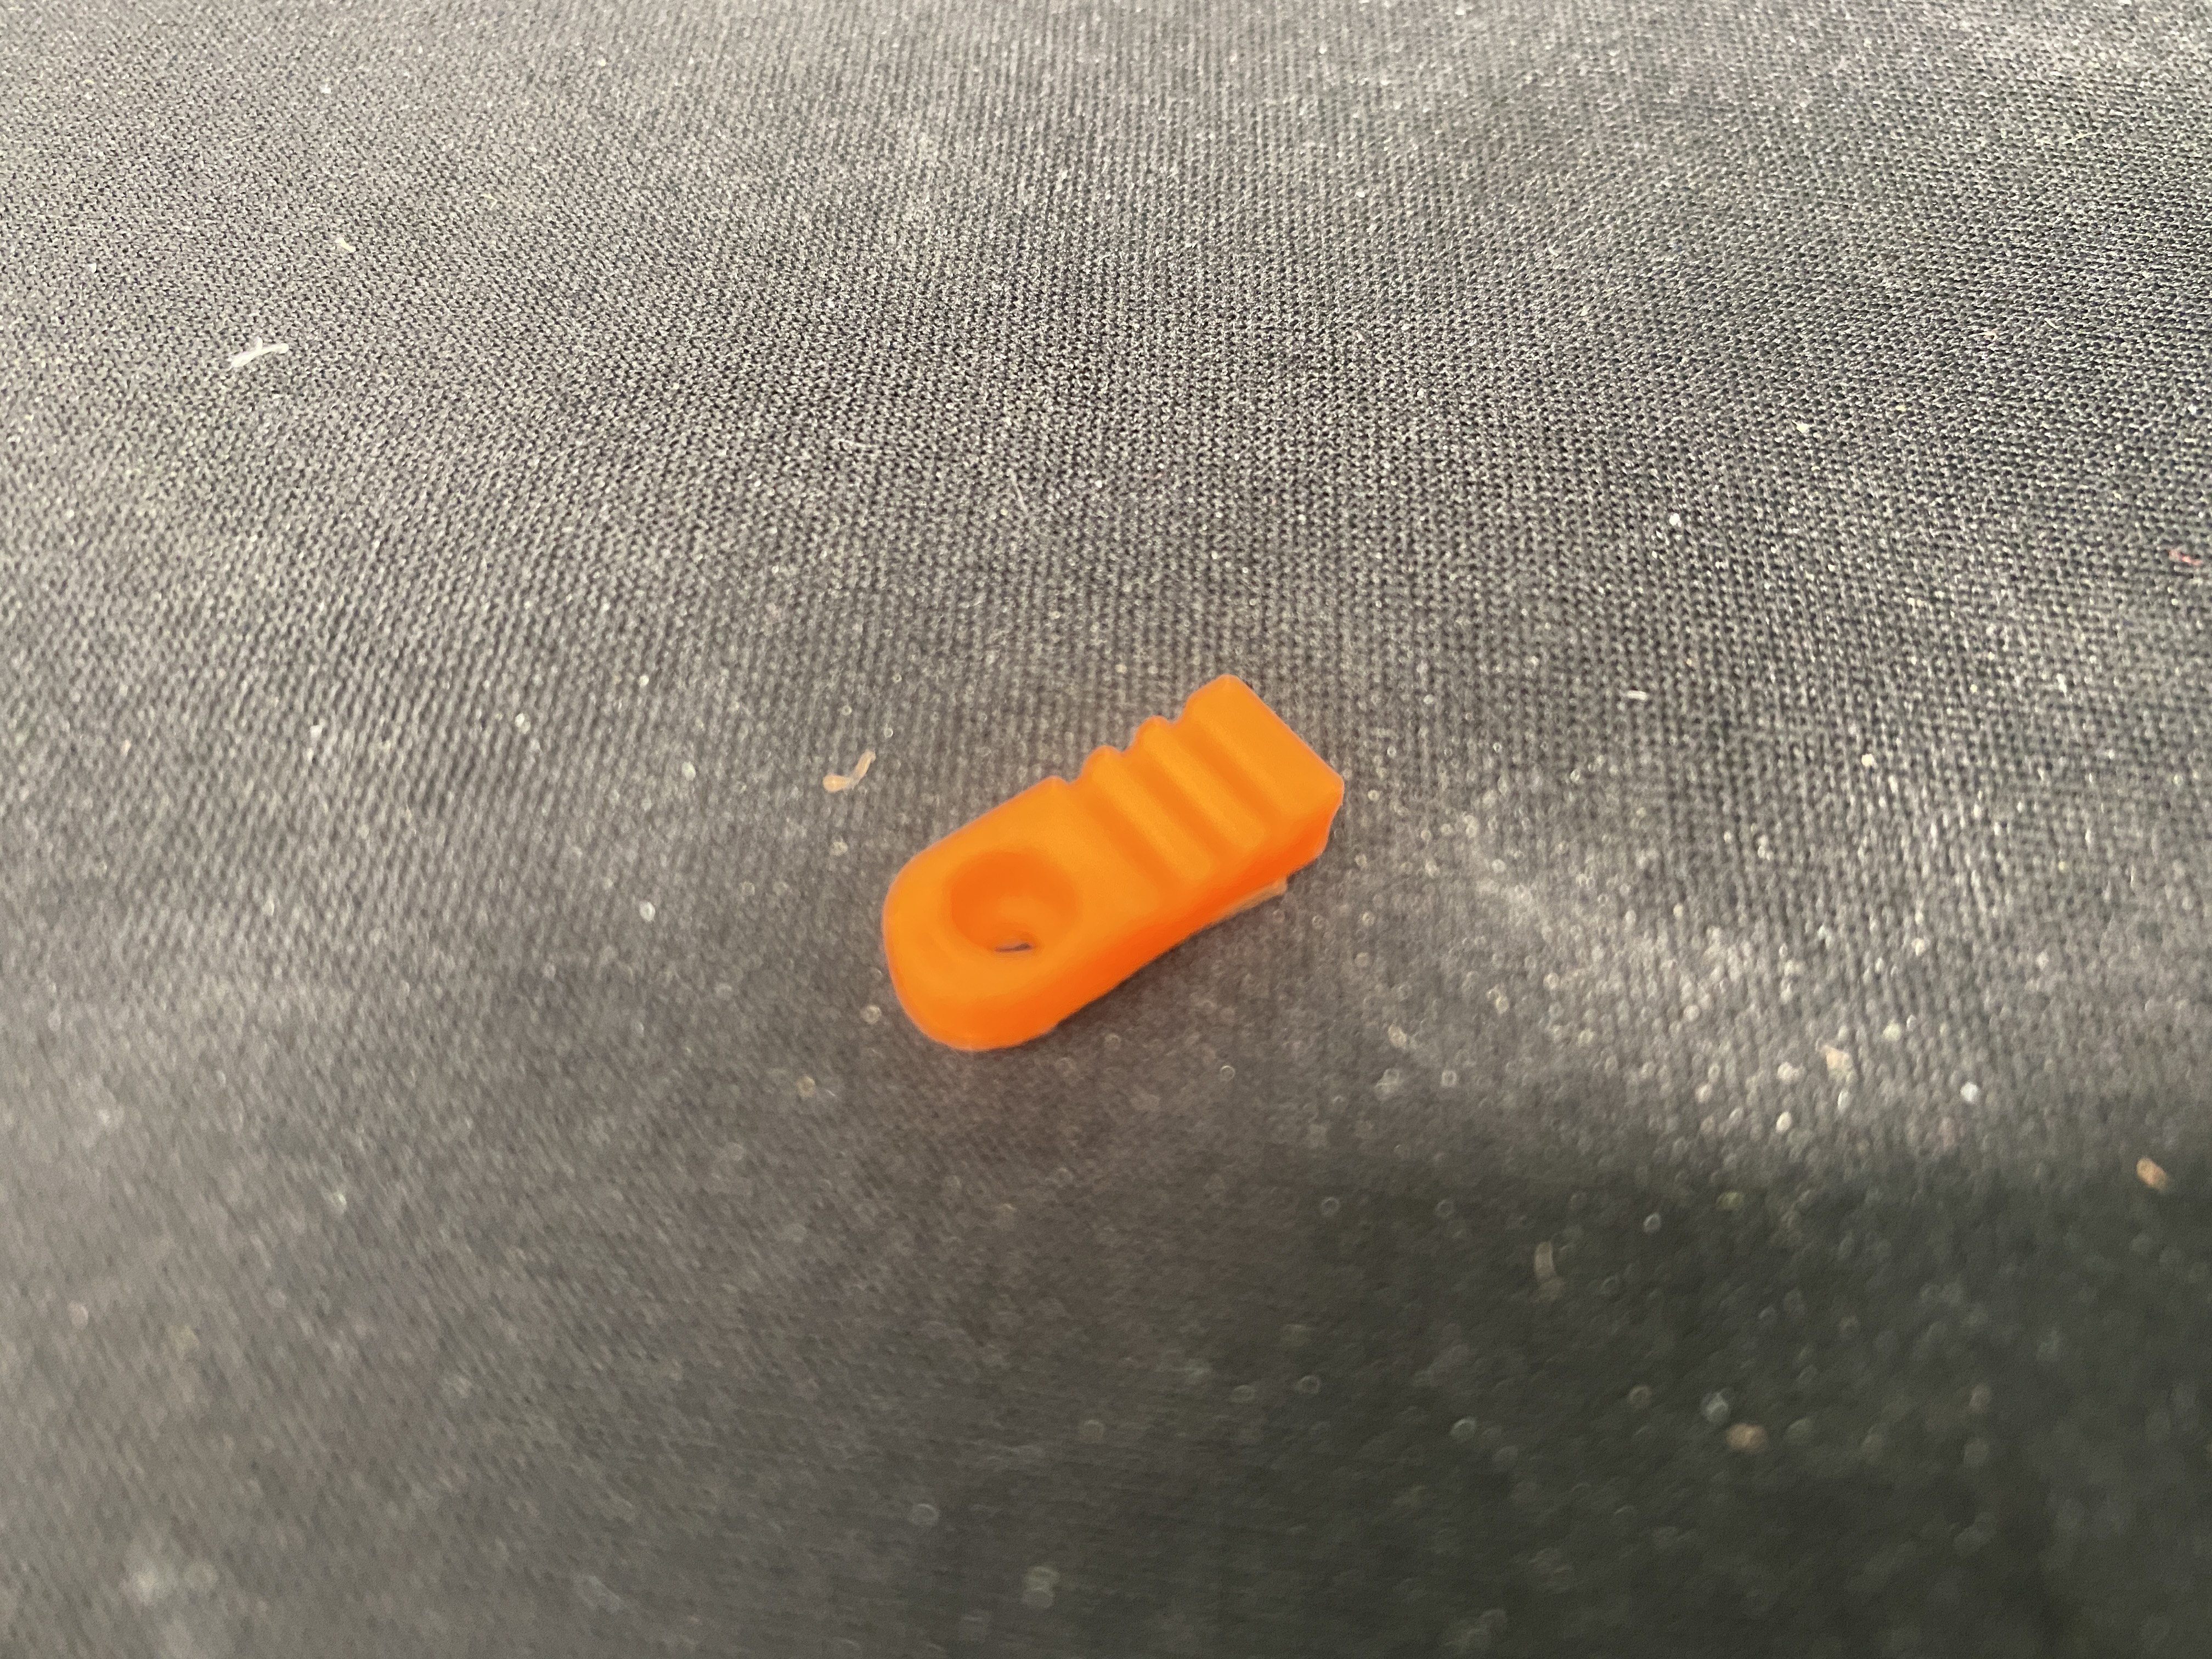
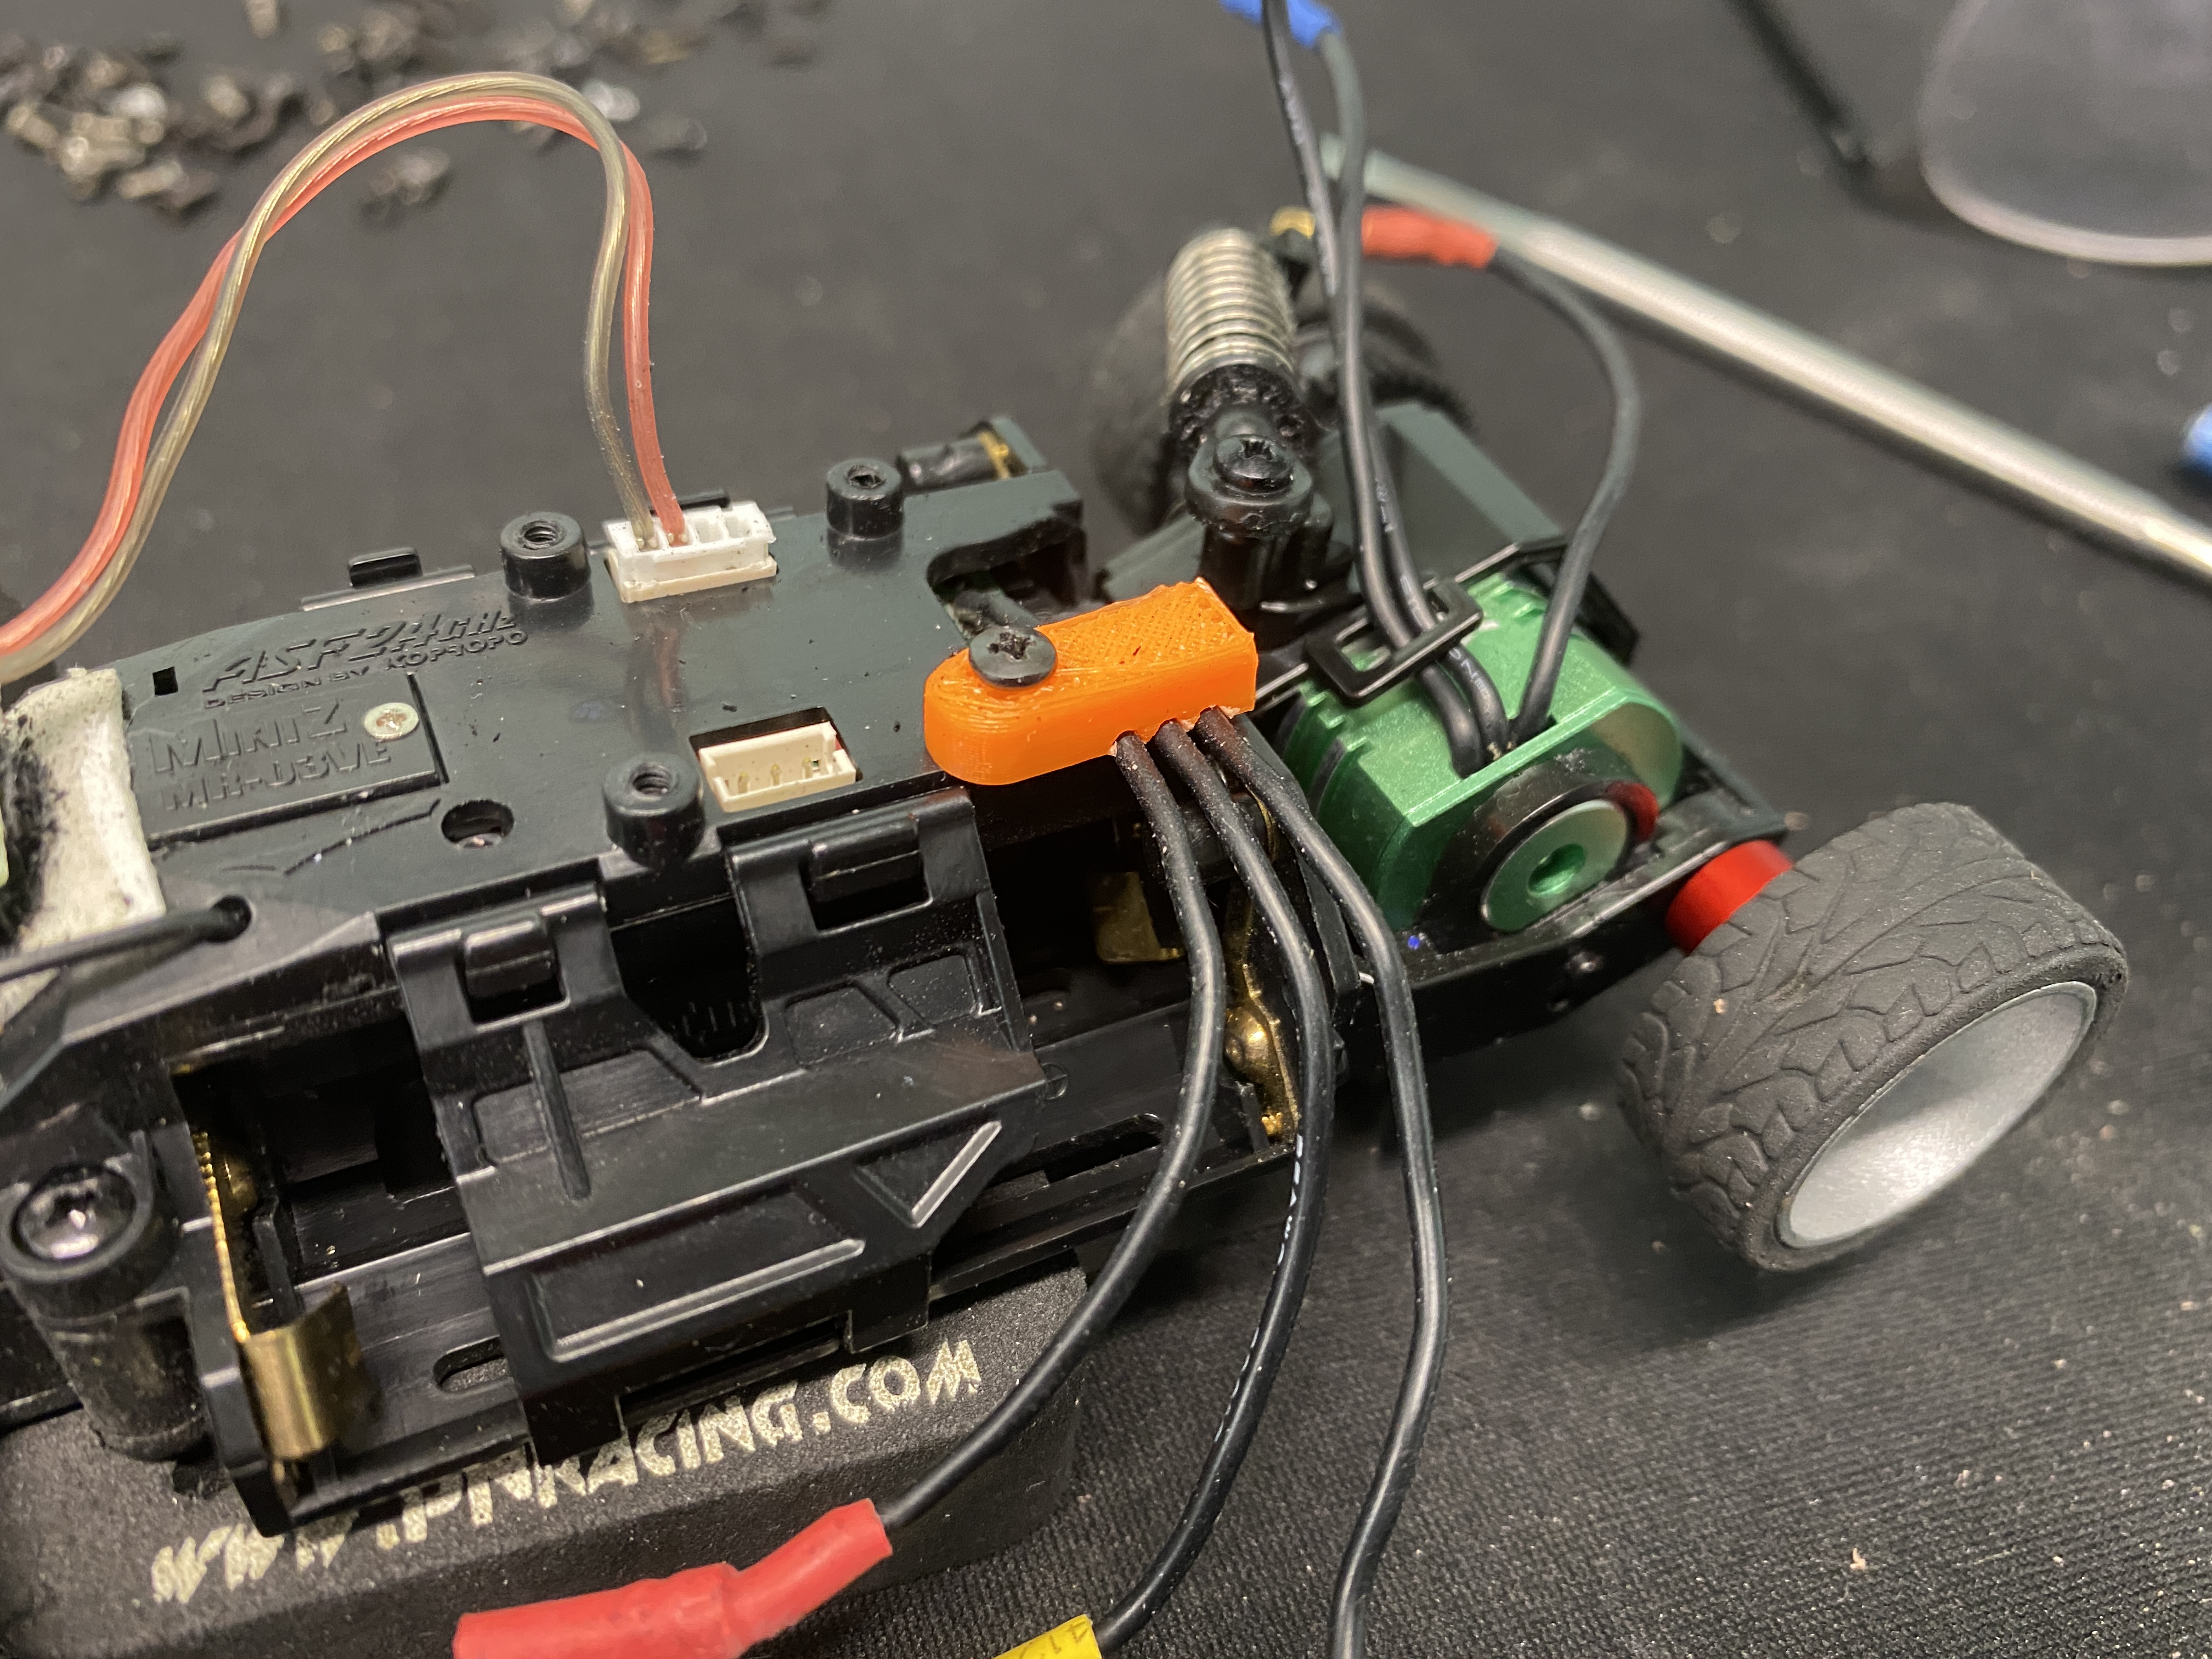
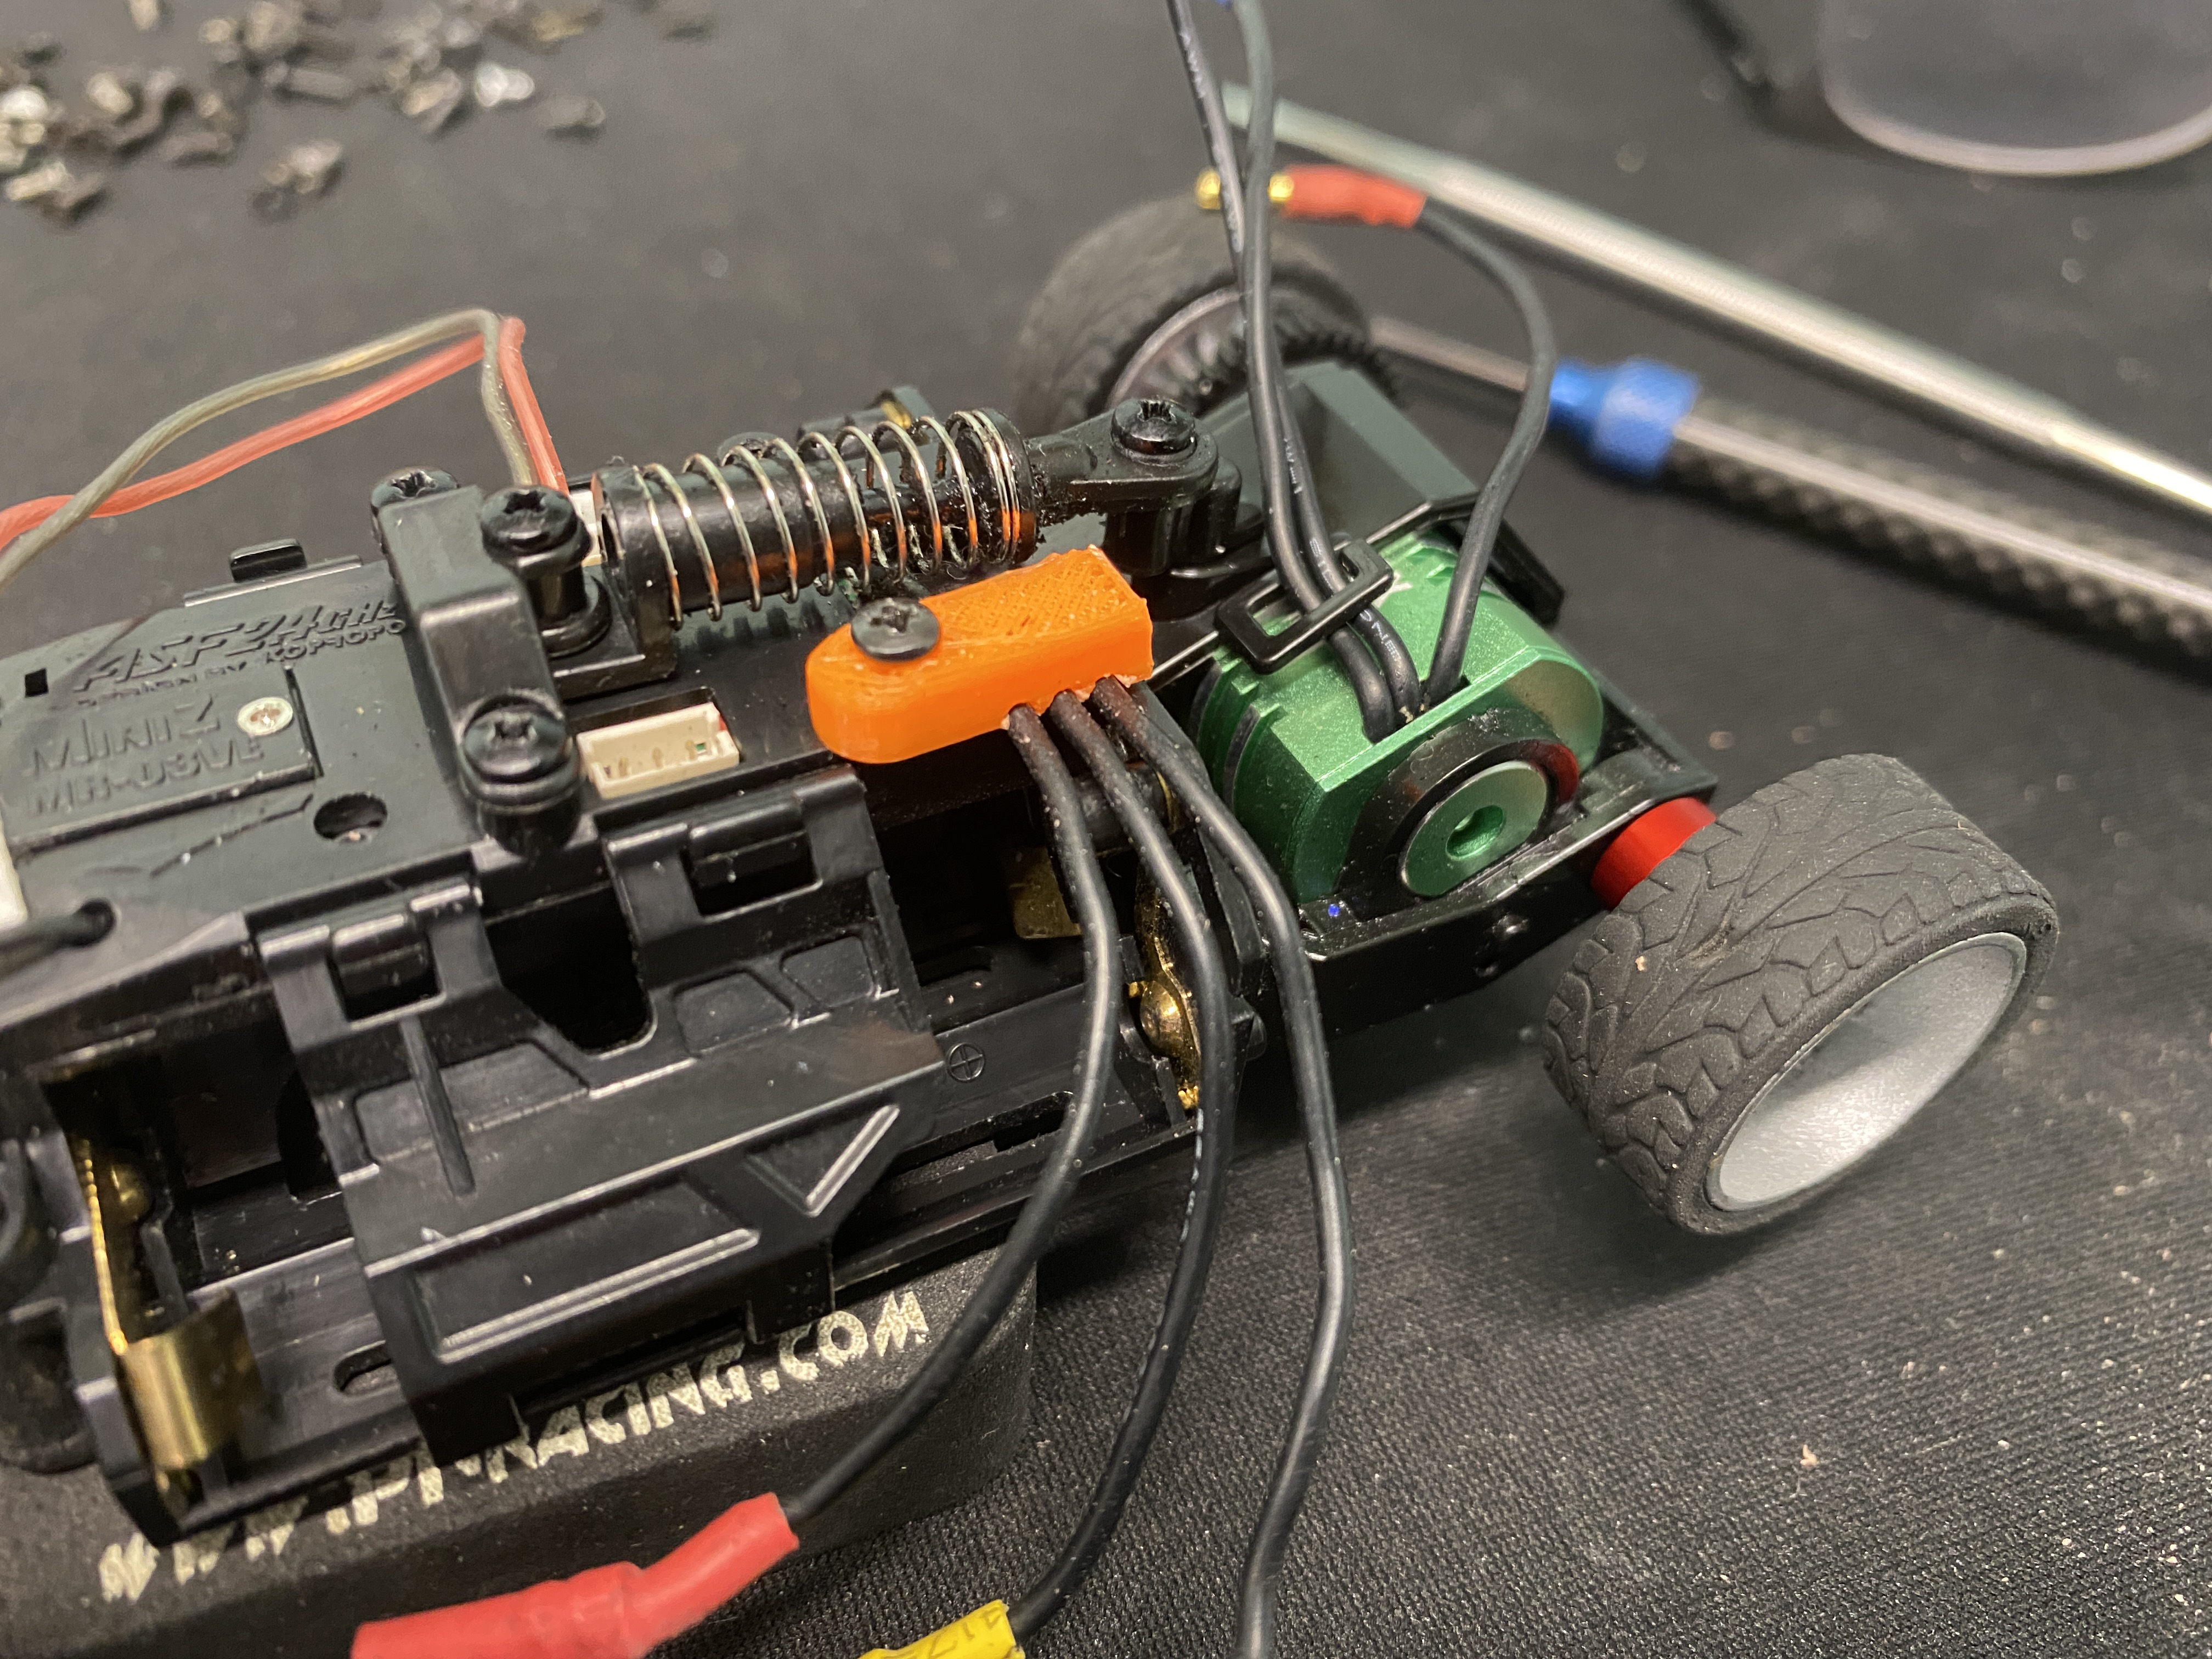
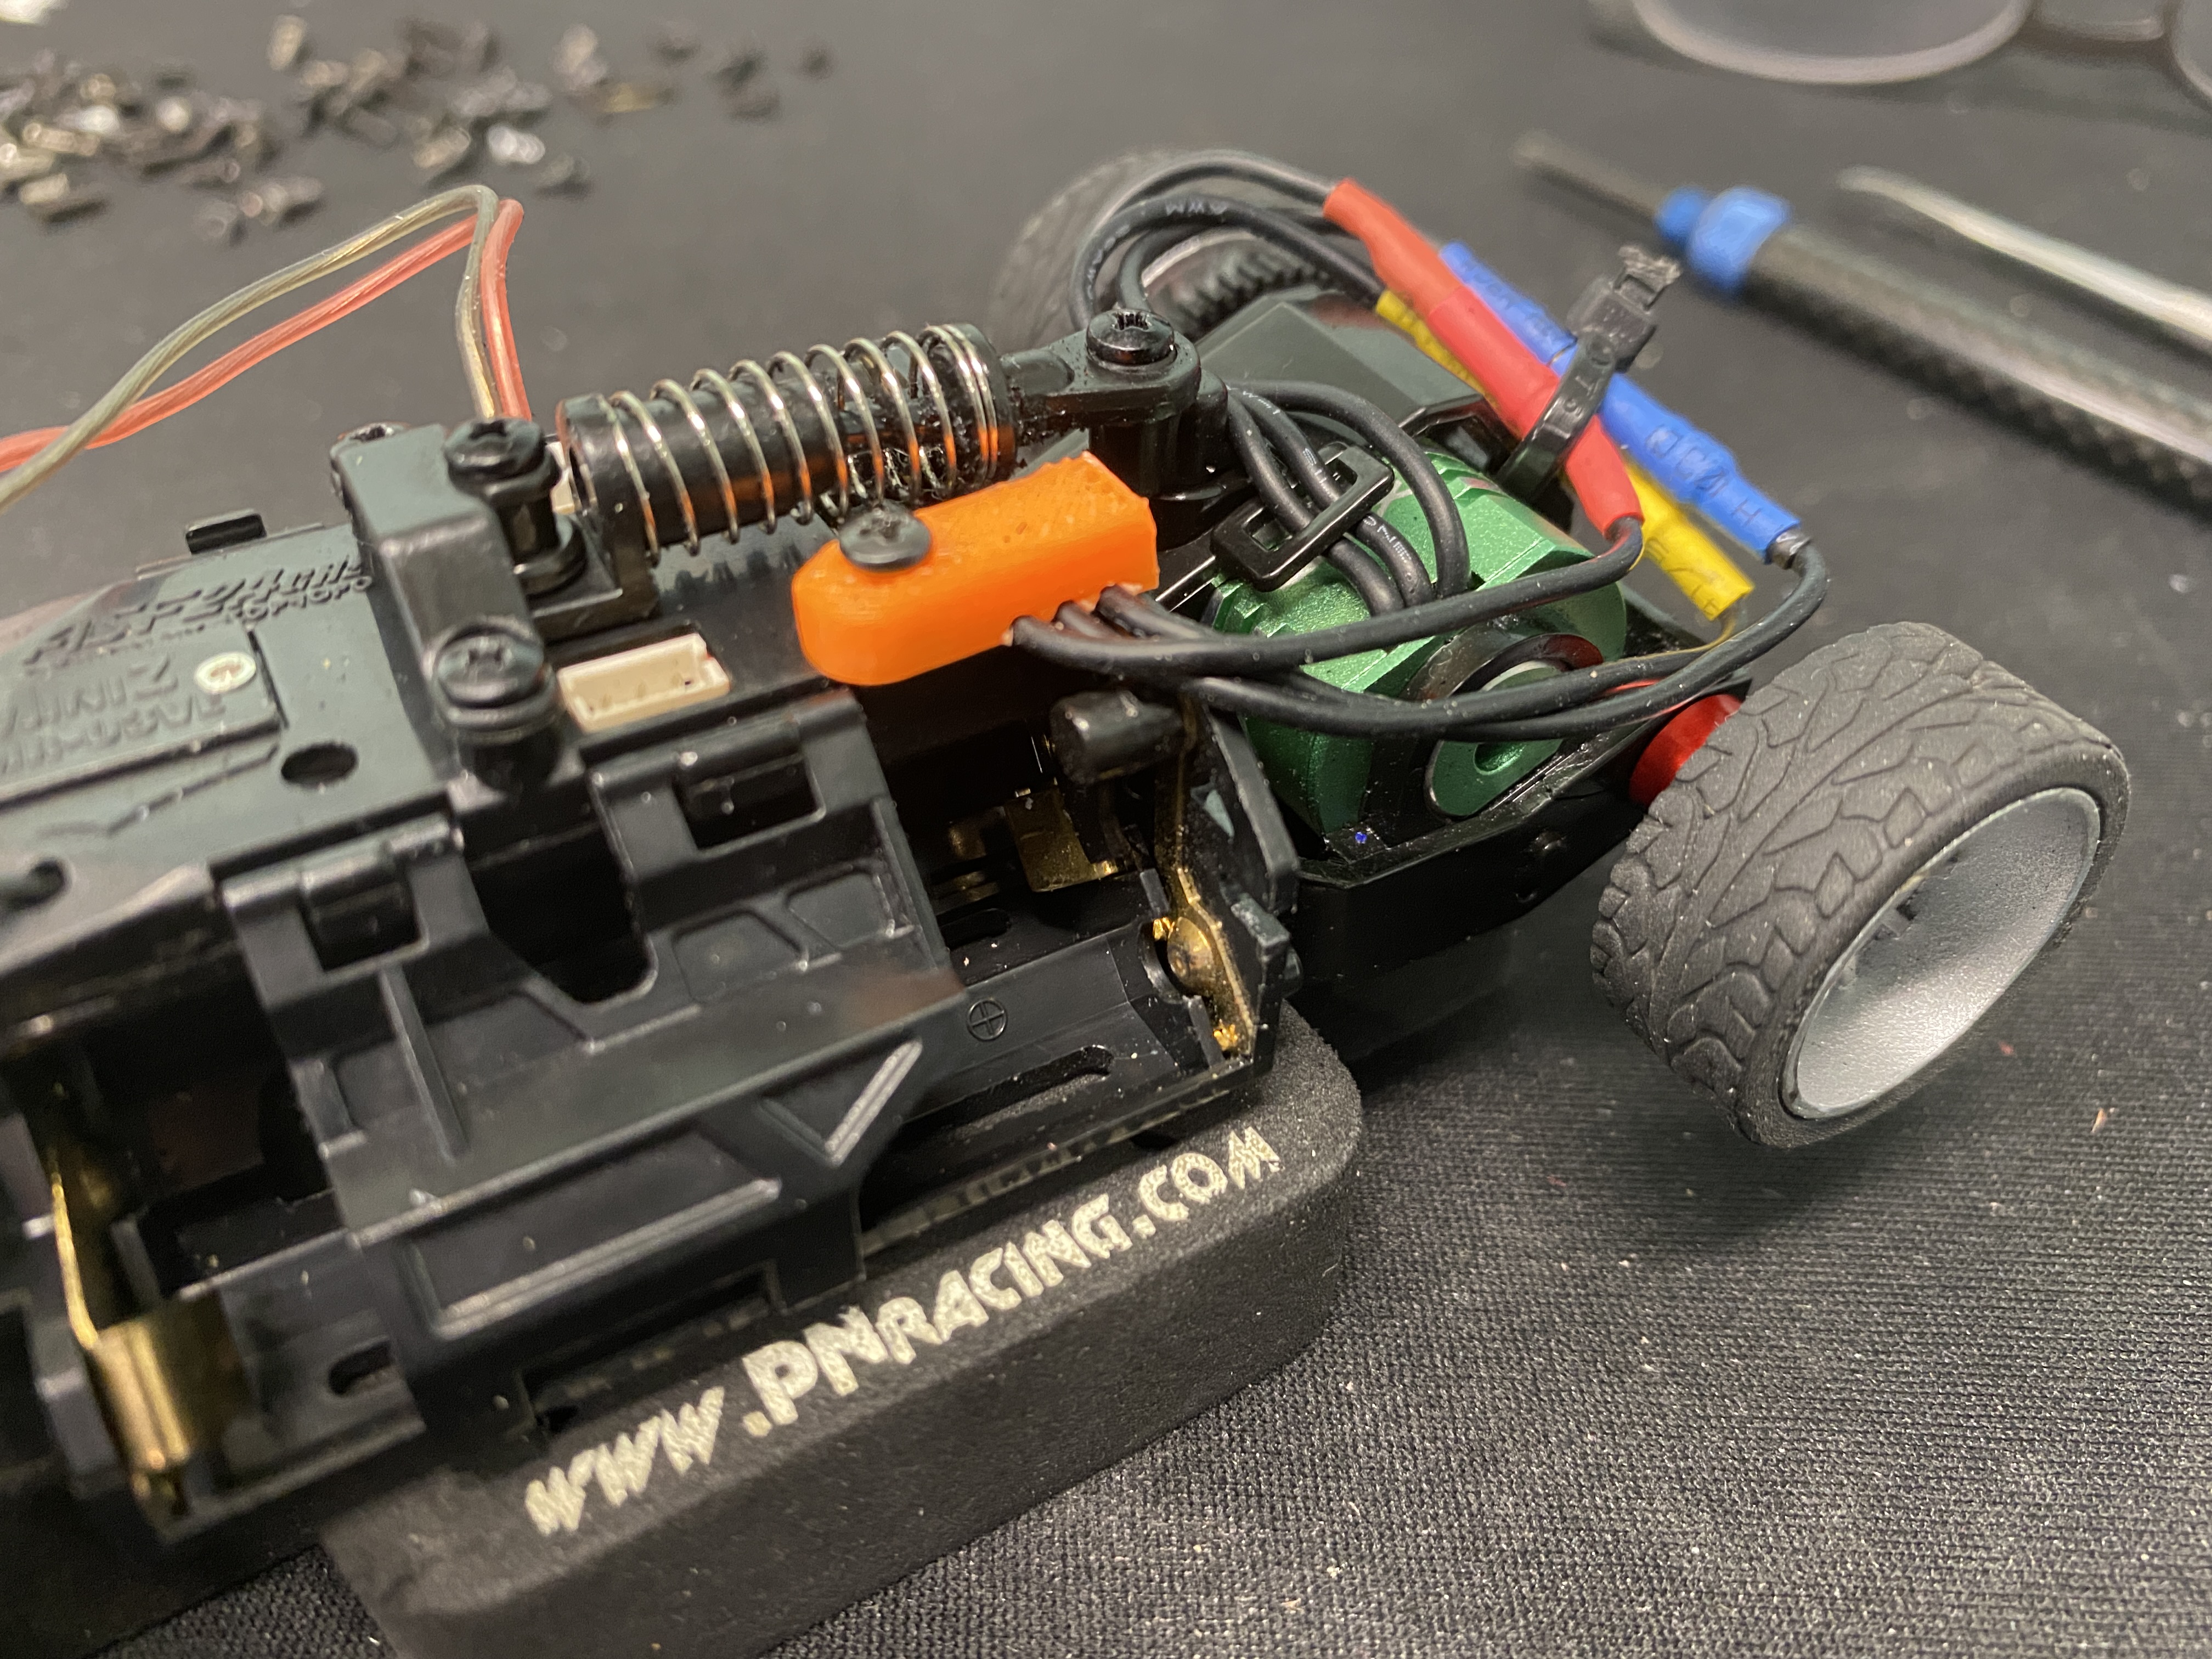
Mini-Z VE - Wire Holder
For my next project, I decided that I wanted to build a upgrade to the Kyosho Mini-Z VE car. I have created a wire clamp, based on 3d printing plans that are located here. I thought that this was a great idea, since the wires over time have a tendancy to pull away from the board and some soldering repair is then needed. Not that big of a deal, but it pulls you from being able to race until the fix has been completed.
 |
 |
| Mini-Z VE - Wire Holder: Figure 1 | Mini-Z VE - Wire Holder: Figure 2 |
 |
 |
| Mini-Z VE - Wire Holder: Figure 3 | Mini-Z VE - Wire Holder: Figure 4 |